Those who have the Ender 3 / Ender 3 Pro knows how this is an excellent printer, with great accuracy, and managed at this price tag to have only 3 things sacrificed:
print speed : not a concern when buying a budget printer, and anyways not so bad at all.
lack of auto-mesh bed levelling : can be easily solved by adding the BLtouch upgrade. Anyways with this small build volume and a reliable frame it isn't too much a concern.
silence : yes, with the noisy stepper motor drivers, the extruder fan, and most of all the power supply is really noisy.
While searching for replacement power supplies, or upgrades to the stock ones, came across many variations of the case to replace the stock 40mm fan by a larger one (or none), among them were:
full honeycomb, no fan at all (won't take the risk): https://www.reddit.com/r/ender3/comments/dz62qv/i_have_a_silent_mean_well_lrs35024_the/
many keeping the same or similar form-factor, or using (expensive and nonstandard dimension) Noctua 92x14mm: https://www.thingiverse.com/thing:4140152
As i had some spare Arctic F9 (92x25mm) at reach, and they should be a perfect fit for this power supply (except for the extra thickness, but not in any way a space or weight critical application, so i'd rather favor parts availability than compactness, not to mention better and more silent cooling by less restricted airflow), i searched a bit more and eventually came across this perfect design:
https://www.thingiverse.com/thing:3206719
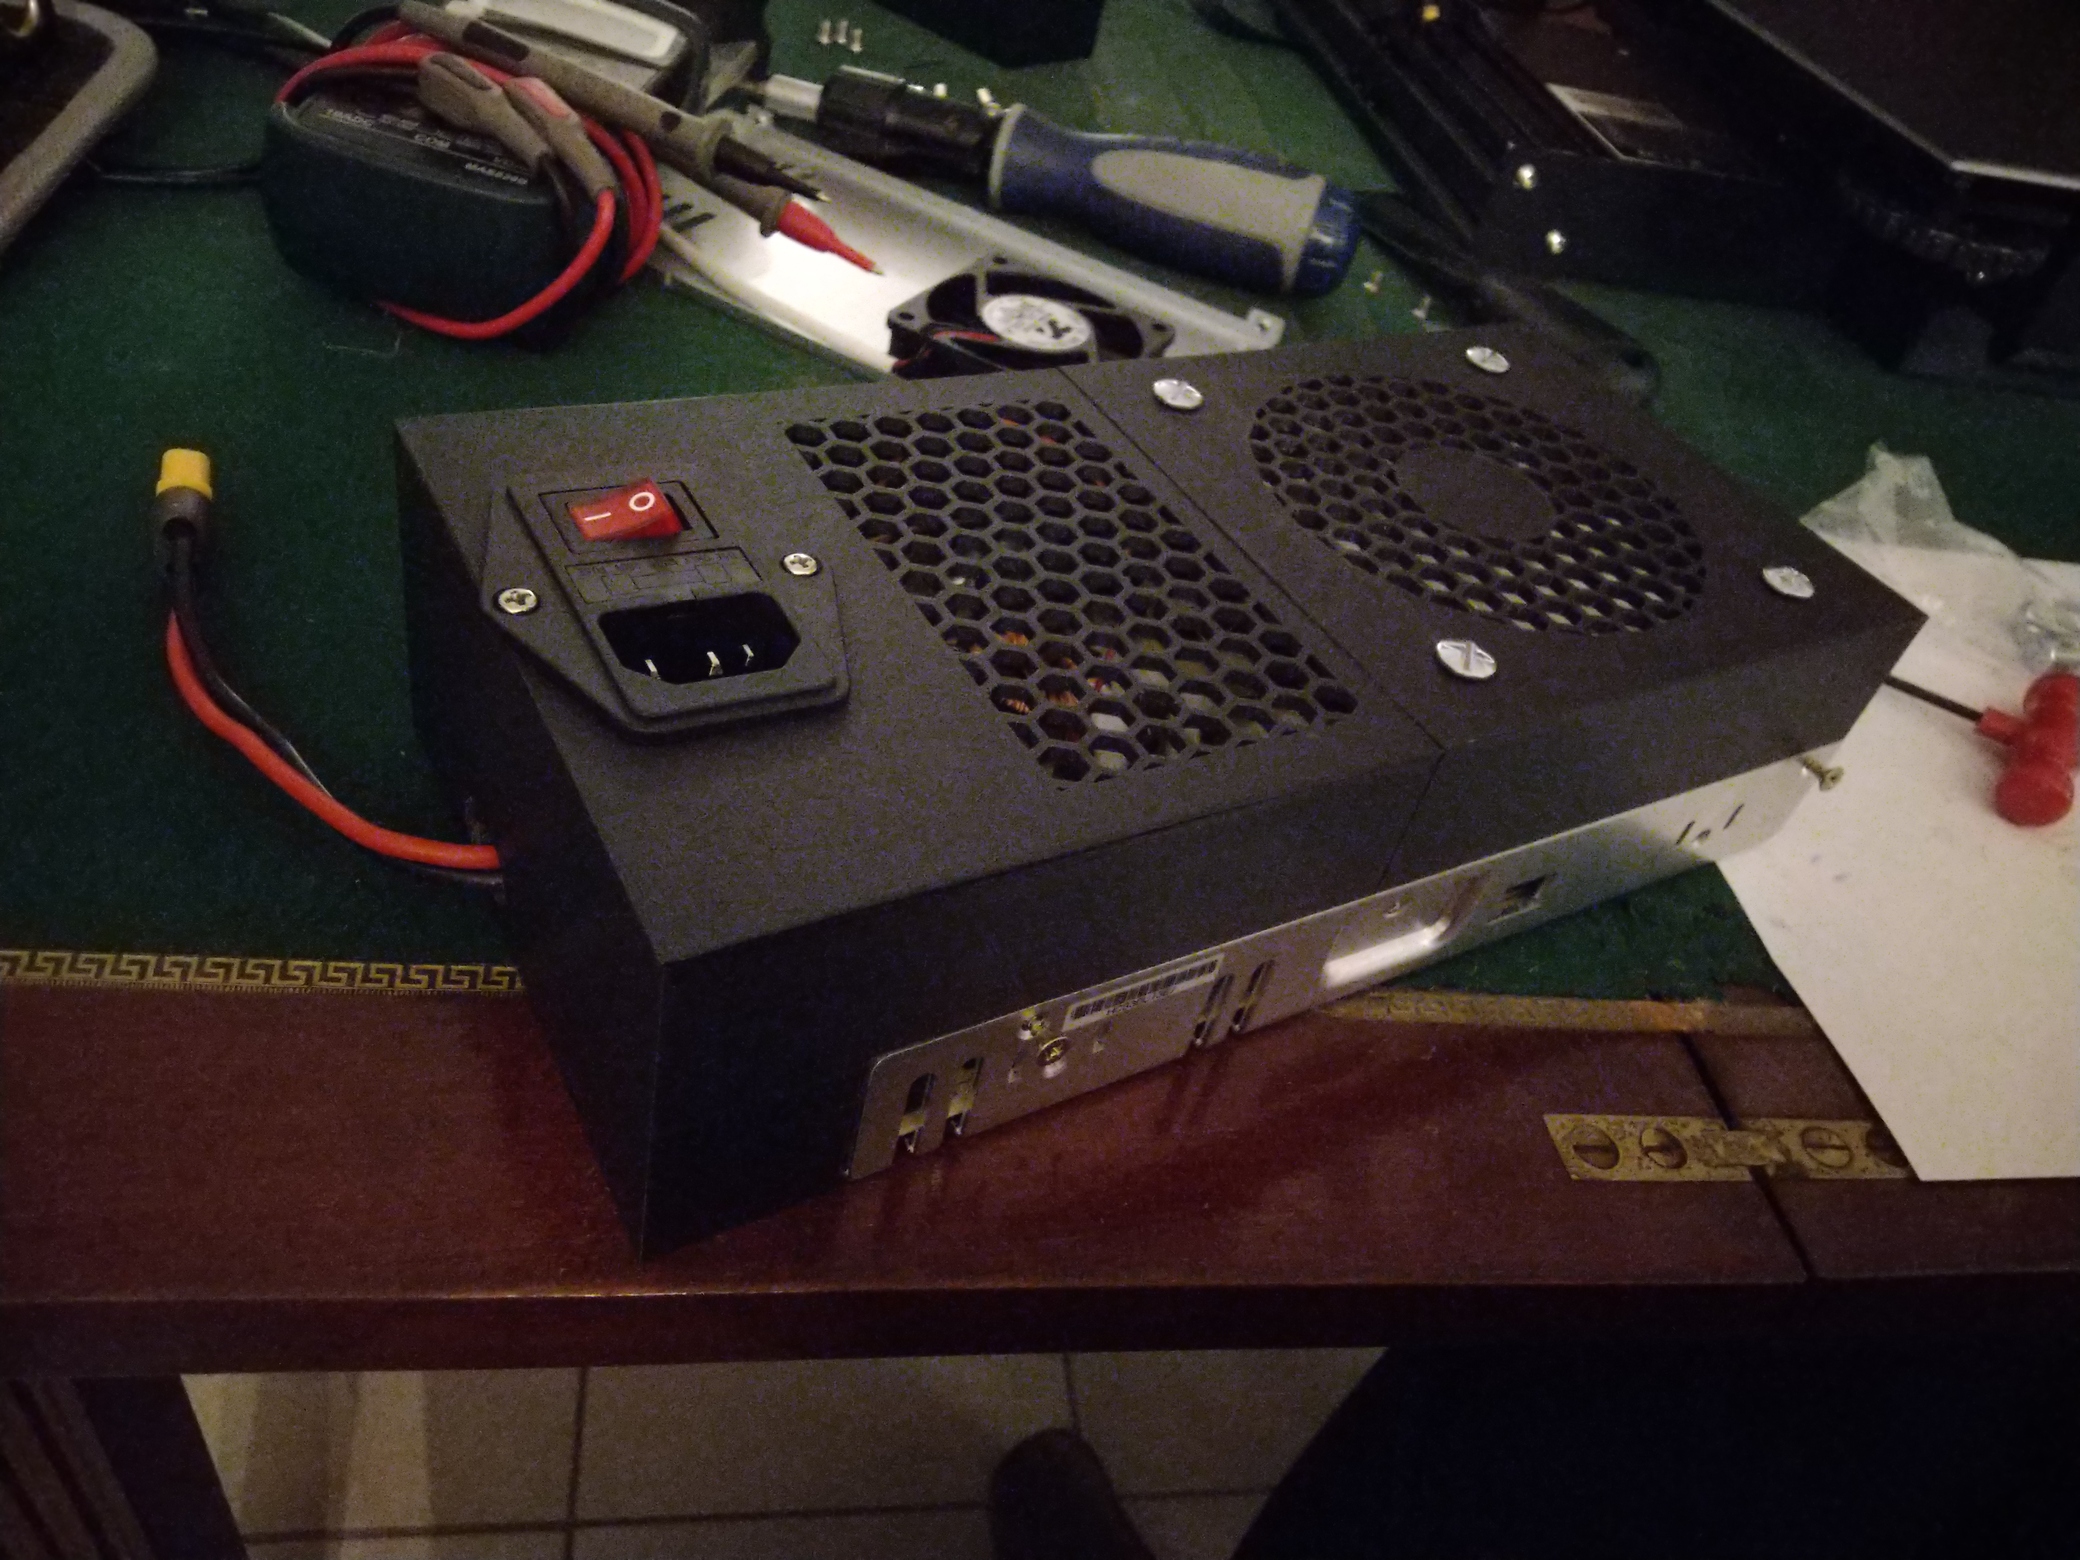
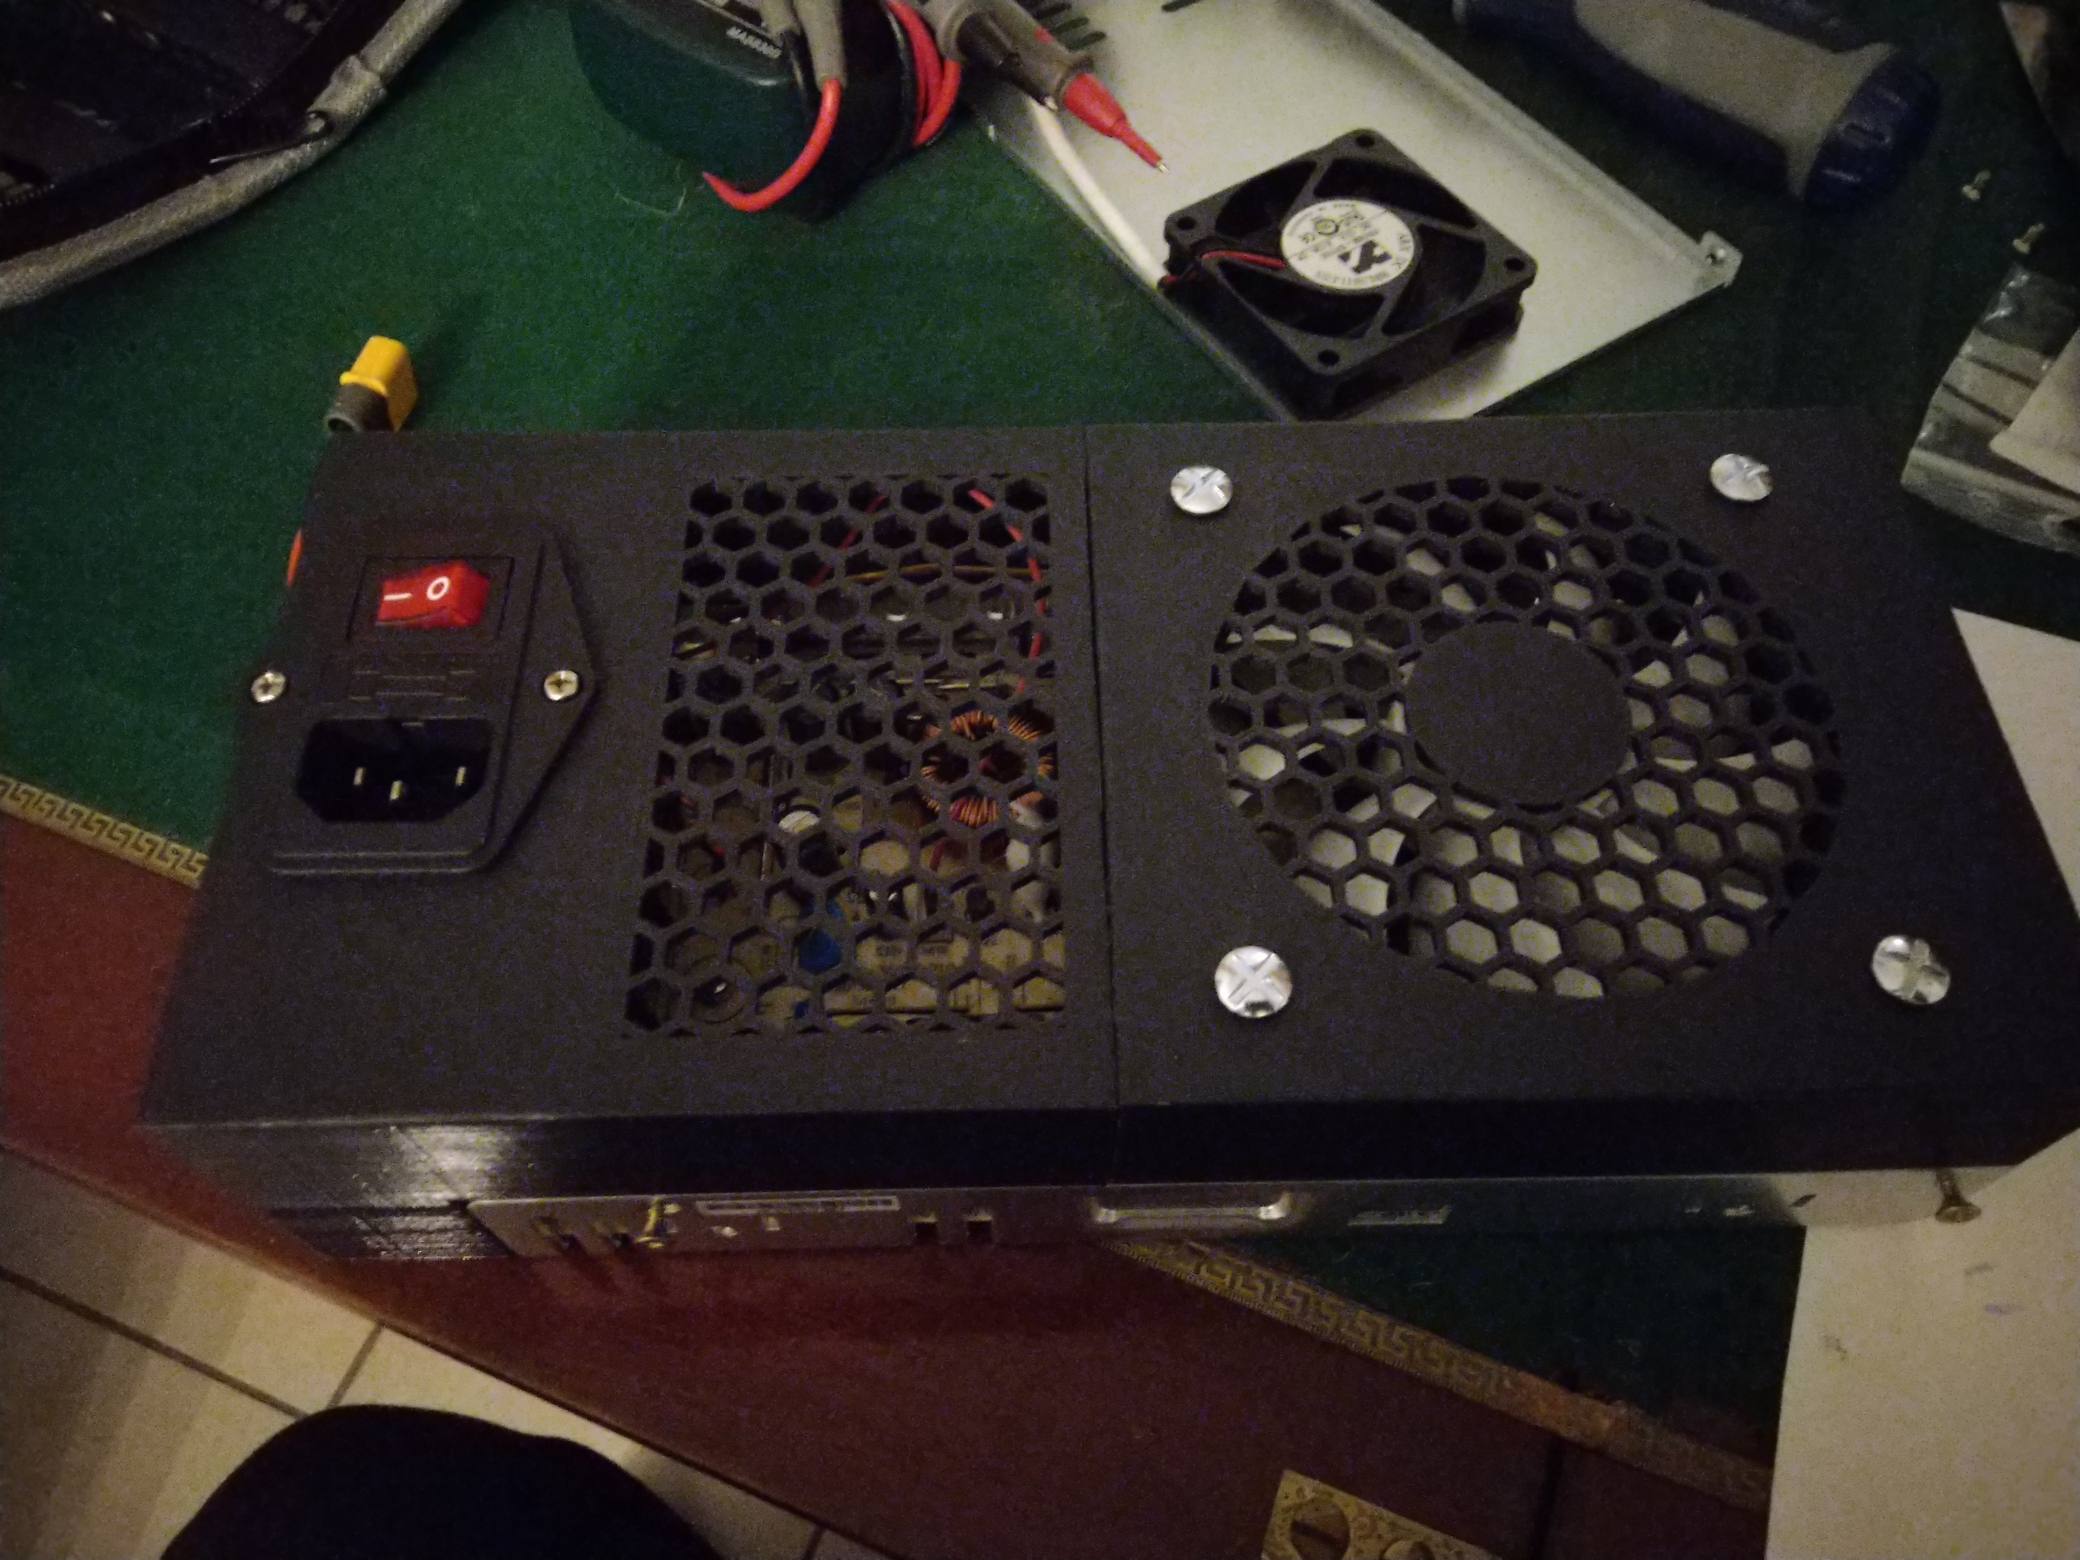
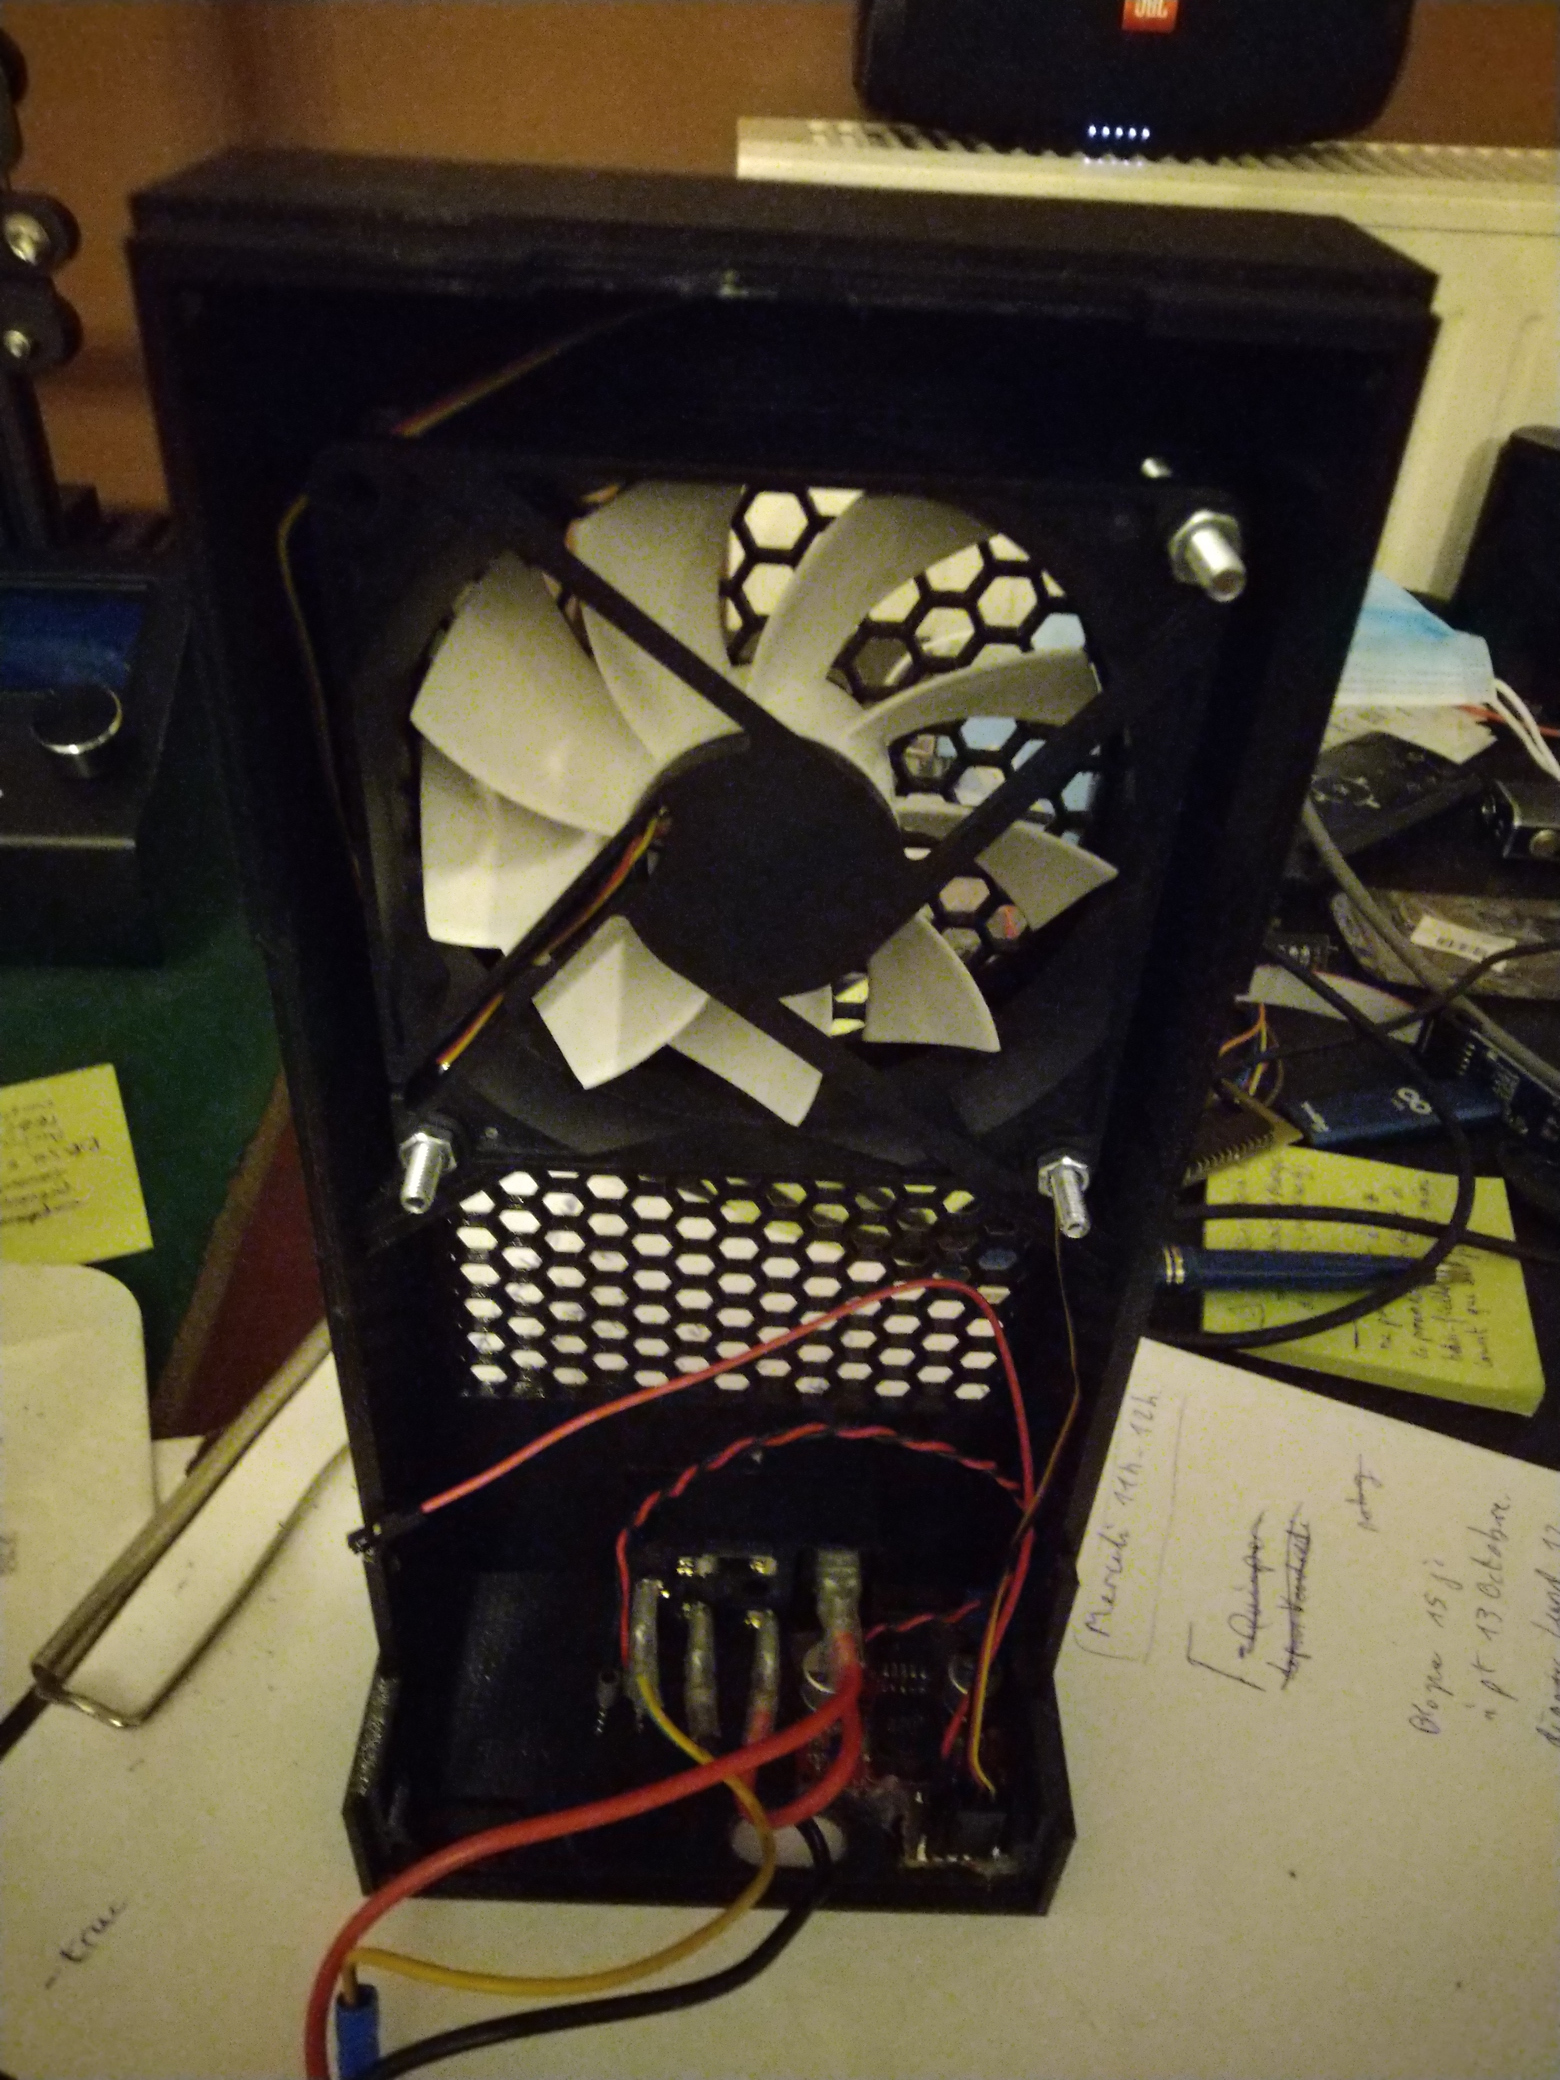
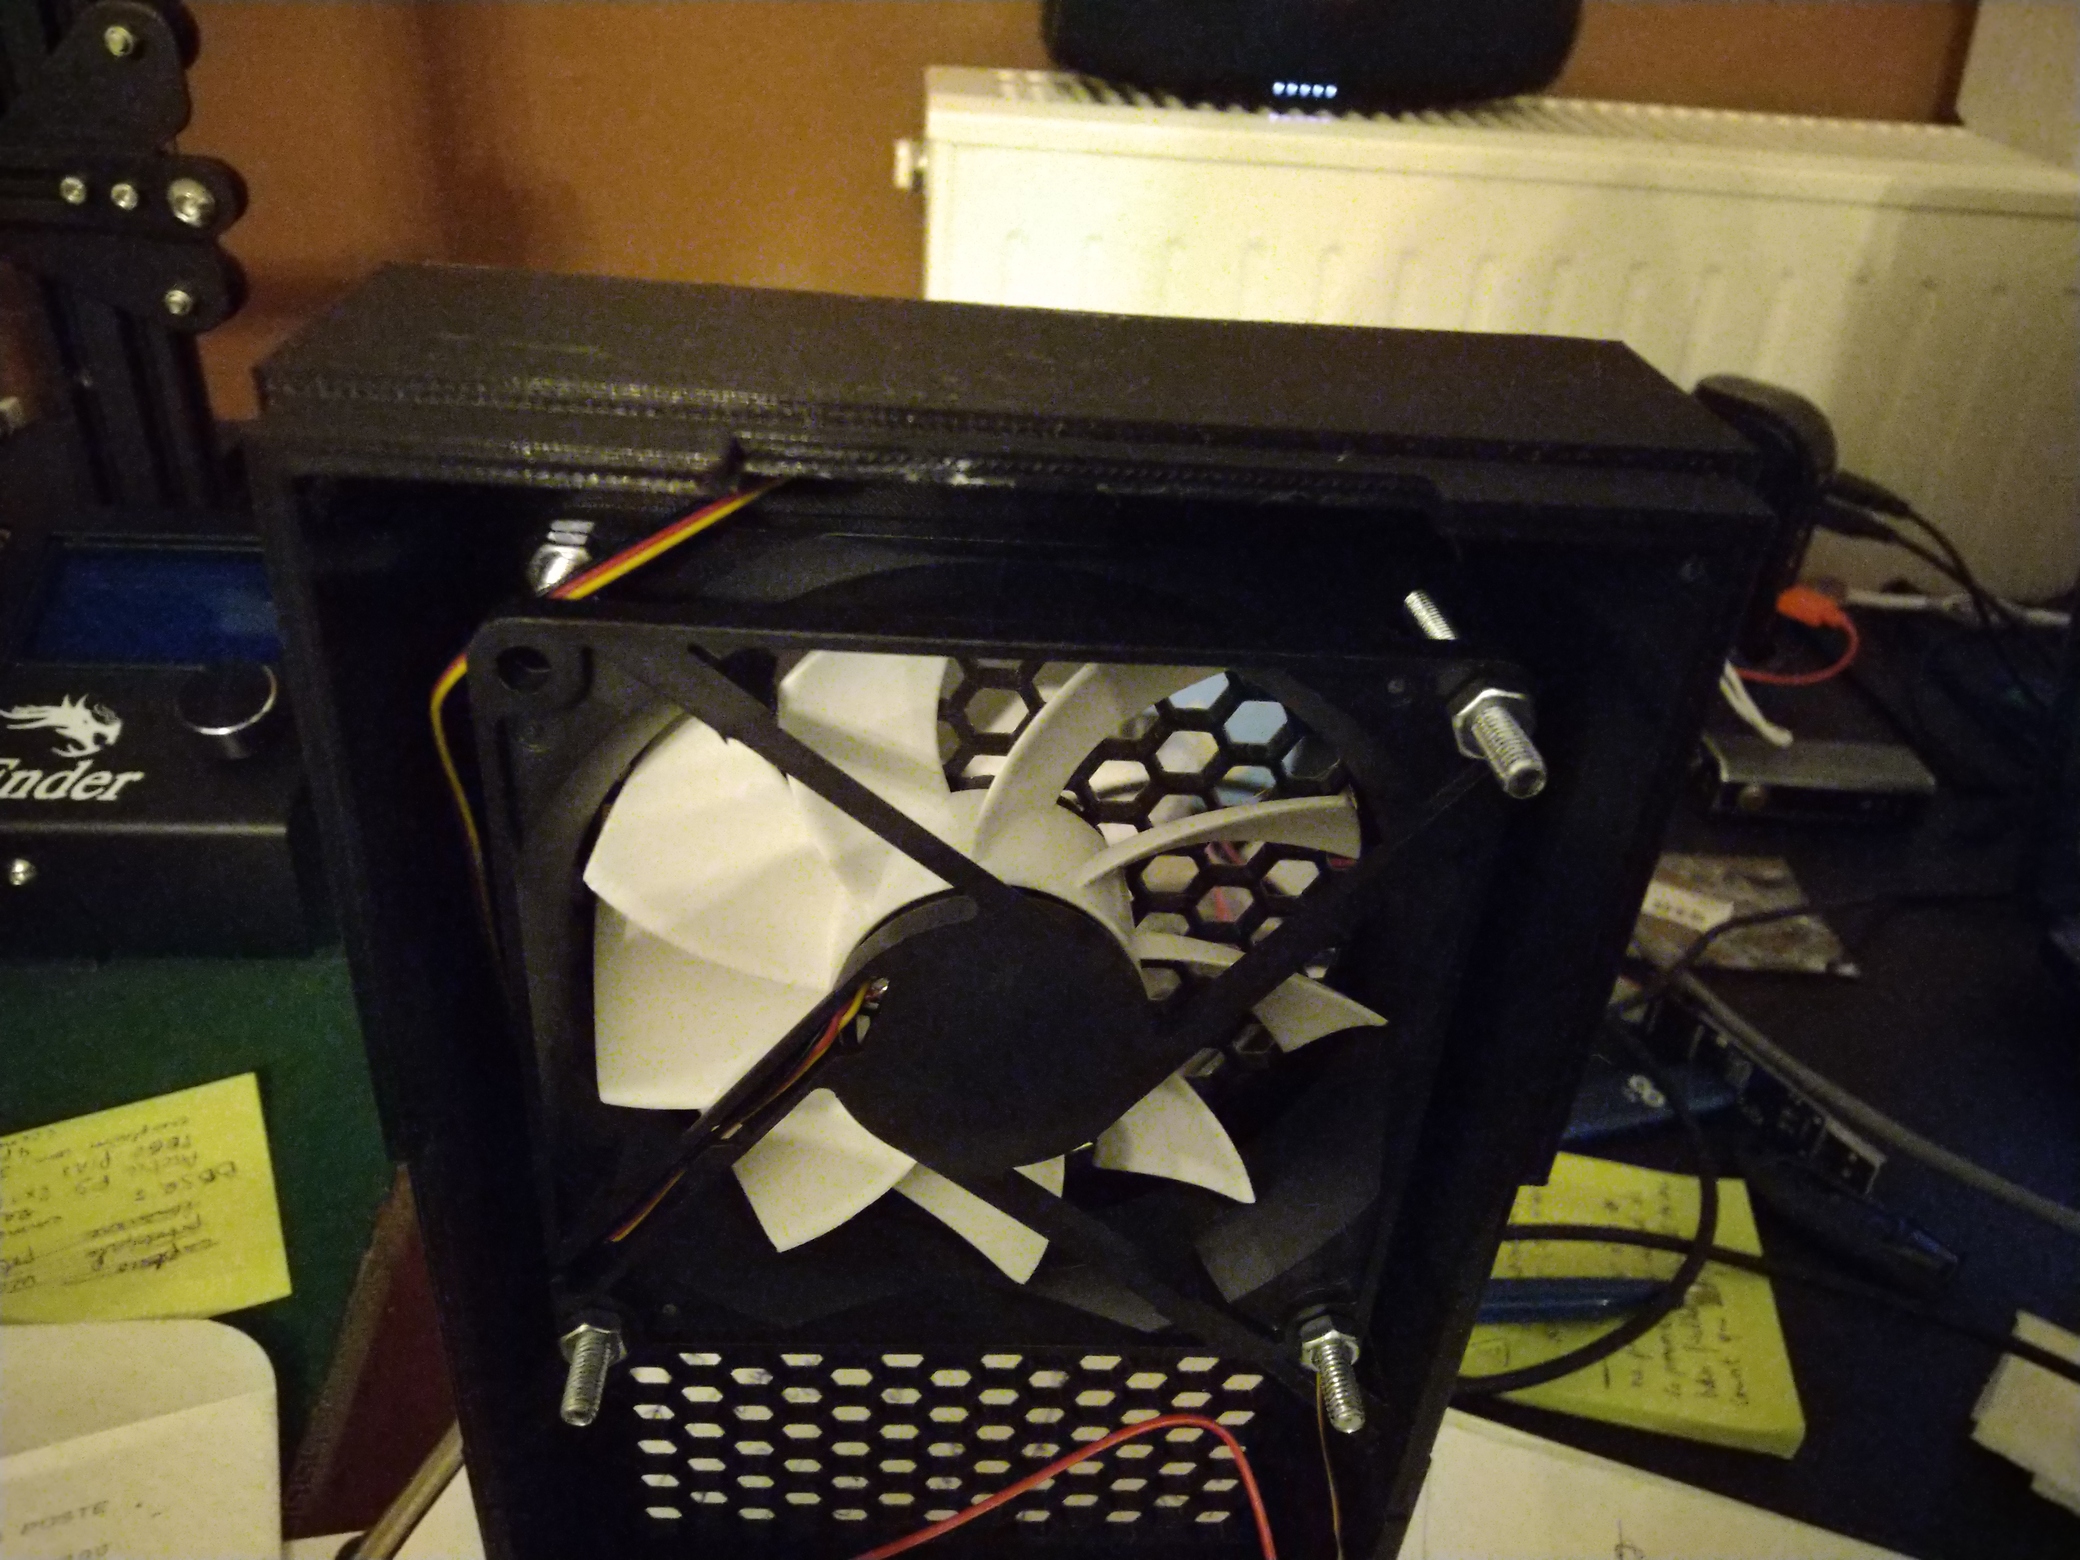
Obviously a bit thicker than the stock cover or previous one, but with place for any standard 92x25mm fan and large honeycomb, here's how it looks once assembled:
Instead of either having the fan always on at a fixed reduced speed (would be ok, as this 92mm fan will anyway give more ariflow even at 50% speed than the stock 60mm one at full speed), or use the stock fan controller of the LRS (either full-speed or off depending on temperature), i thought that 2 speed control would be better:
-Keeping a full-speed option when too hot would be nice to have, and this security would allow going lower on the "cool/idle" speed.
-Also, transitions between two speeds are less noticeable than on/off control.
So decided to have an always-on "idle" low speed, but go to full-speed if the stock thermal control triggers.
To define the idle speed, i used an adjustable DC/DC buck converter and test at different voltages, and go for 7V.
At this speed, it already became by far the least audible component of the printer, and the airflow seems sufficient for continuous cooling, as (spoiler) i've never had it switch once to full-speed, 3 months after and some 10+ hour prints. Might be a clue i could even afford to lower idle speed. Not yet tested with power-hungry printing like ABS, but i'd suspect it's already more efficient at 7V than the stock fan at full speed. I'd say you could safely even ditch this speed controller and only use a buck converter fixed at 7V, but never recommend it, as for the <$5 + half-hour for the stripboard adapter with 2 schottkys, this extra security is a must-have.
Also, before implementing this, i thought of later designing a full-blown digital speed controller, as i had already found a schematic of the LRS PSU unit. Don't remember if it's a "legit" one, or if someone did some reverse-engineering. Anyways it would be relatively easy to tap into the NTC output, feed it via a divider bridge to an analog port of an Arduino nano or similar then drive the fan with PWM.
But as this simplistic dual-speed solution proved way enough sufficient i'd gave up the idea as totally overkill.
So here are the rough details (i don't give more, as it depends a lot on the parts you have at hand, and if you don't have (yet) the skills to figure out easily how to adapt you should not engage into opening and modifying a power-supply unit) for building this:
Parts list:
-The printed parts from: https://www.thingiverse.com/thing:3206719
-The small rear-cover plate named WellFan-Part3.stl (not included in the link above) from the origin of those PSU cover remixes: https://www.thingiverse.com/thing:2967389
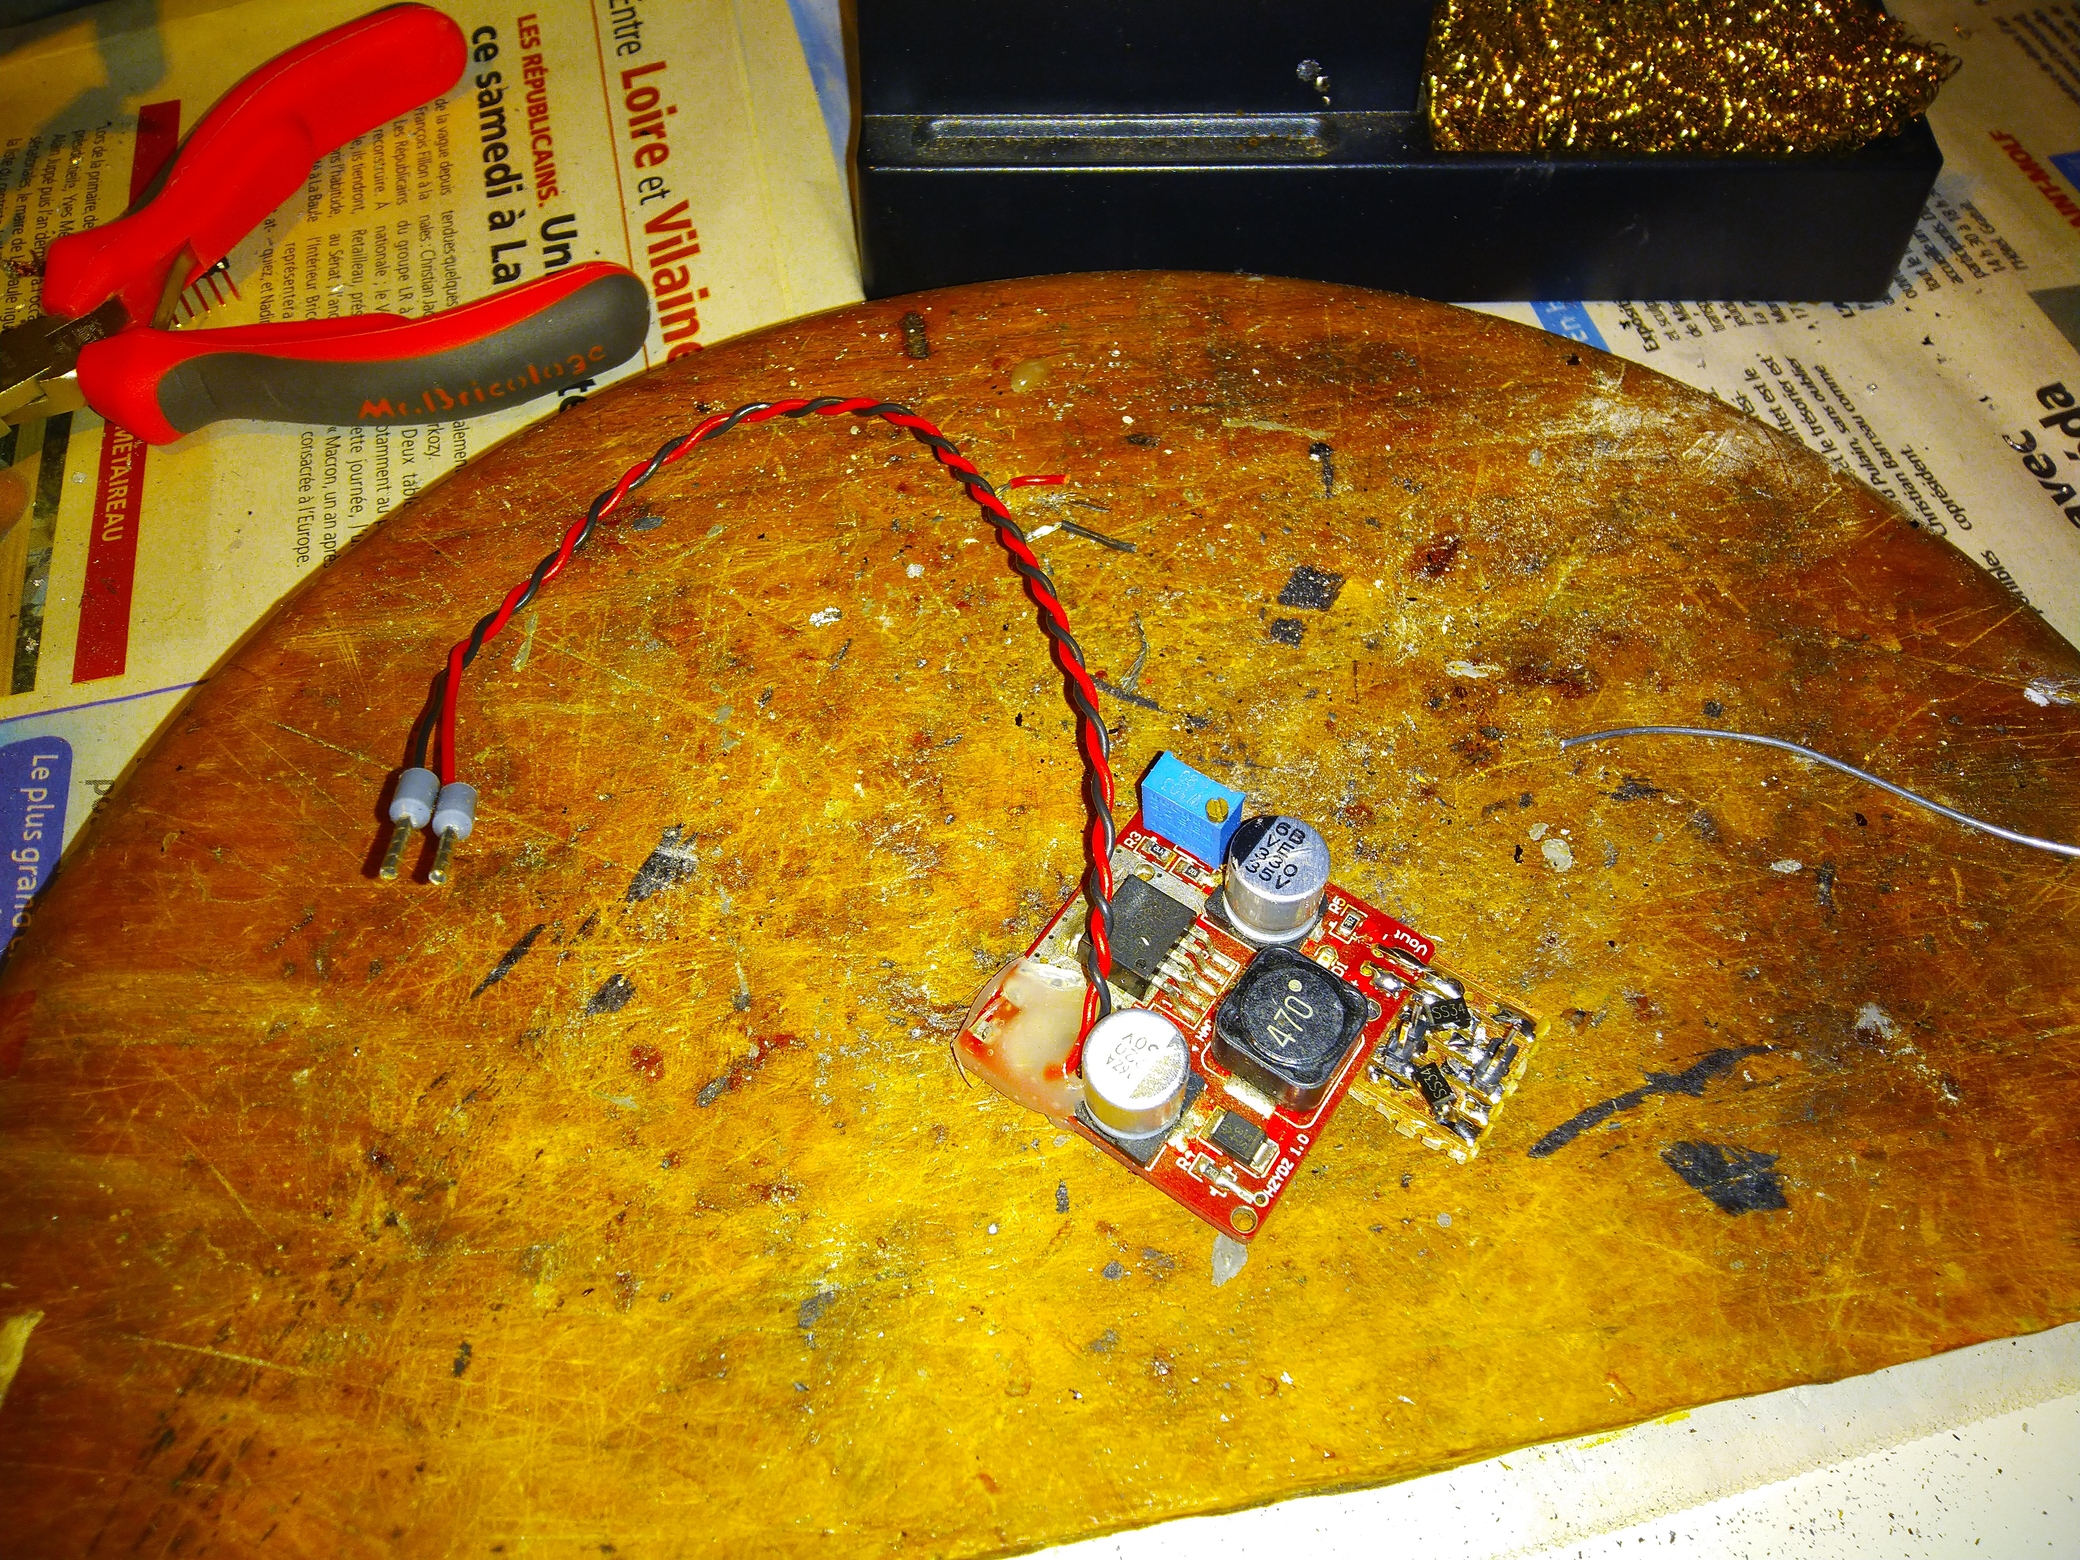
-Some adjustable DC/DC "buck converter" than can accept 24V input and fits into the case (I had an LM2596 based one at hand that was small enough (most are larger), but an MP1584 module should do too (and are smaller, anyways you'll have to adjust the wiring and do some soldering)).
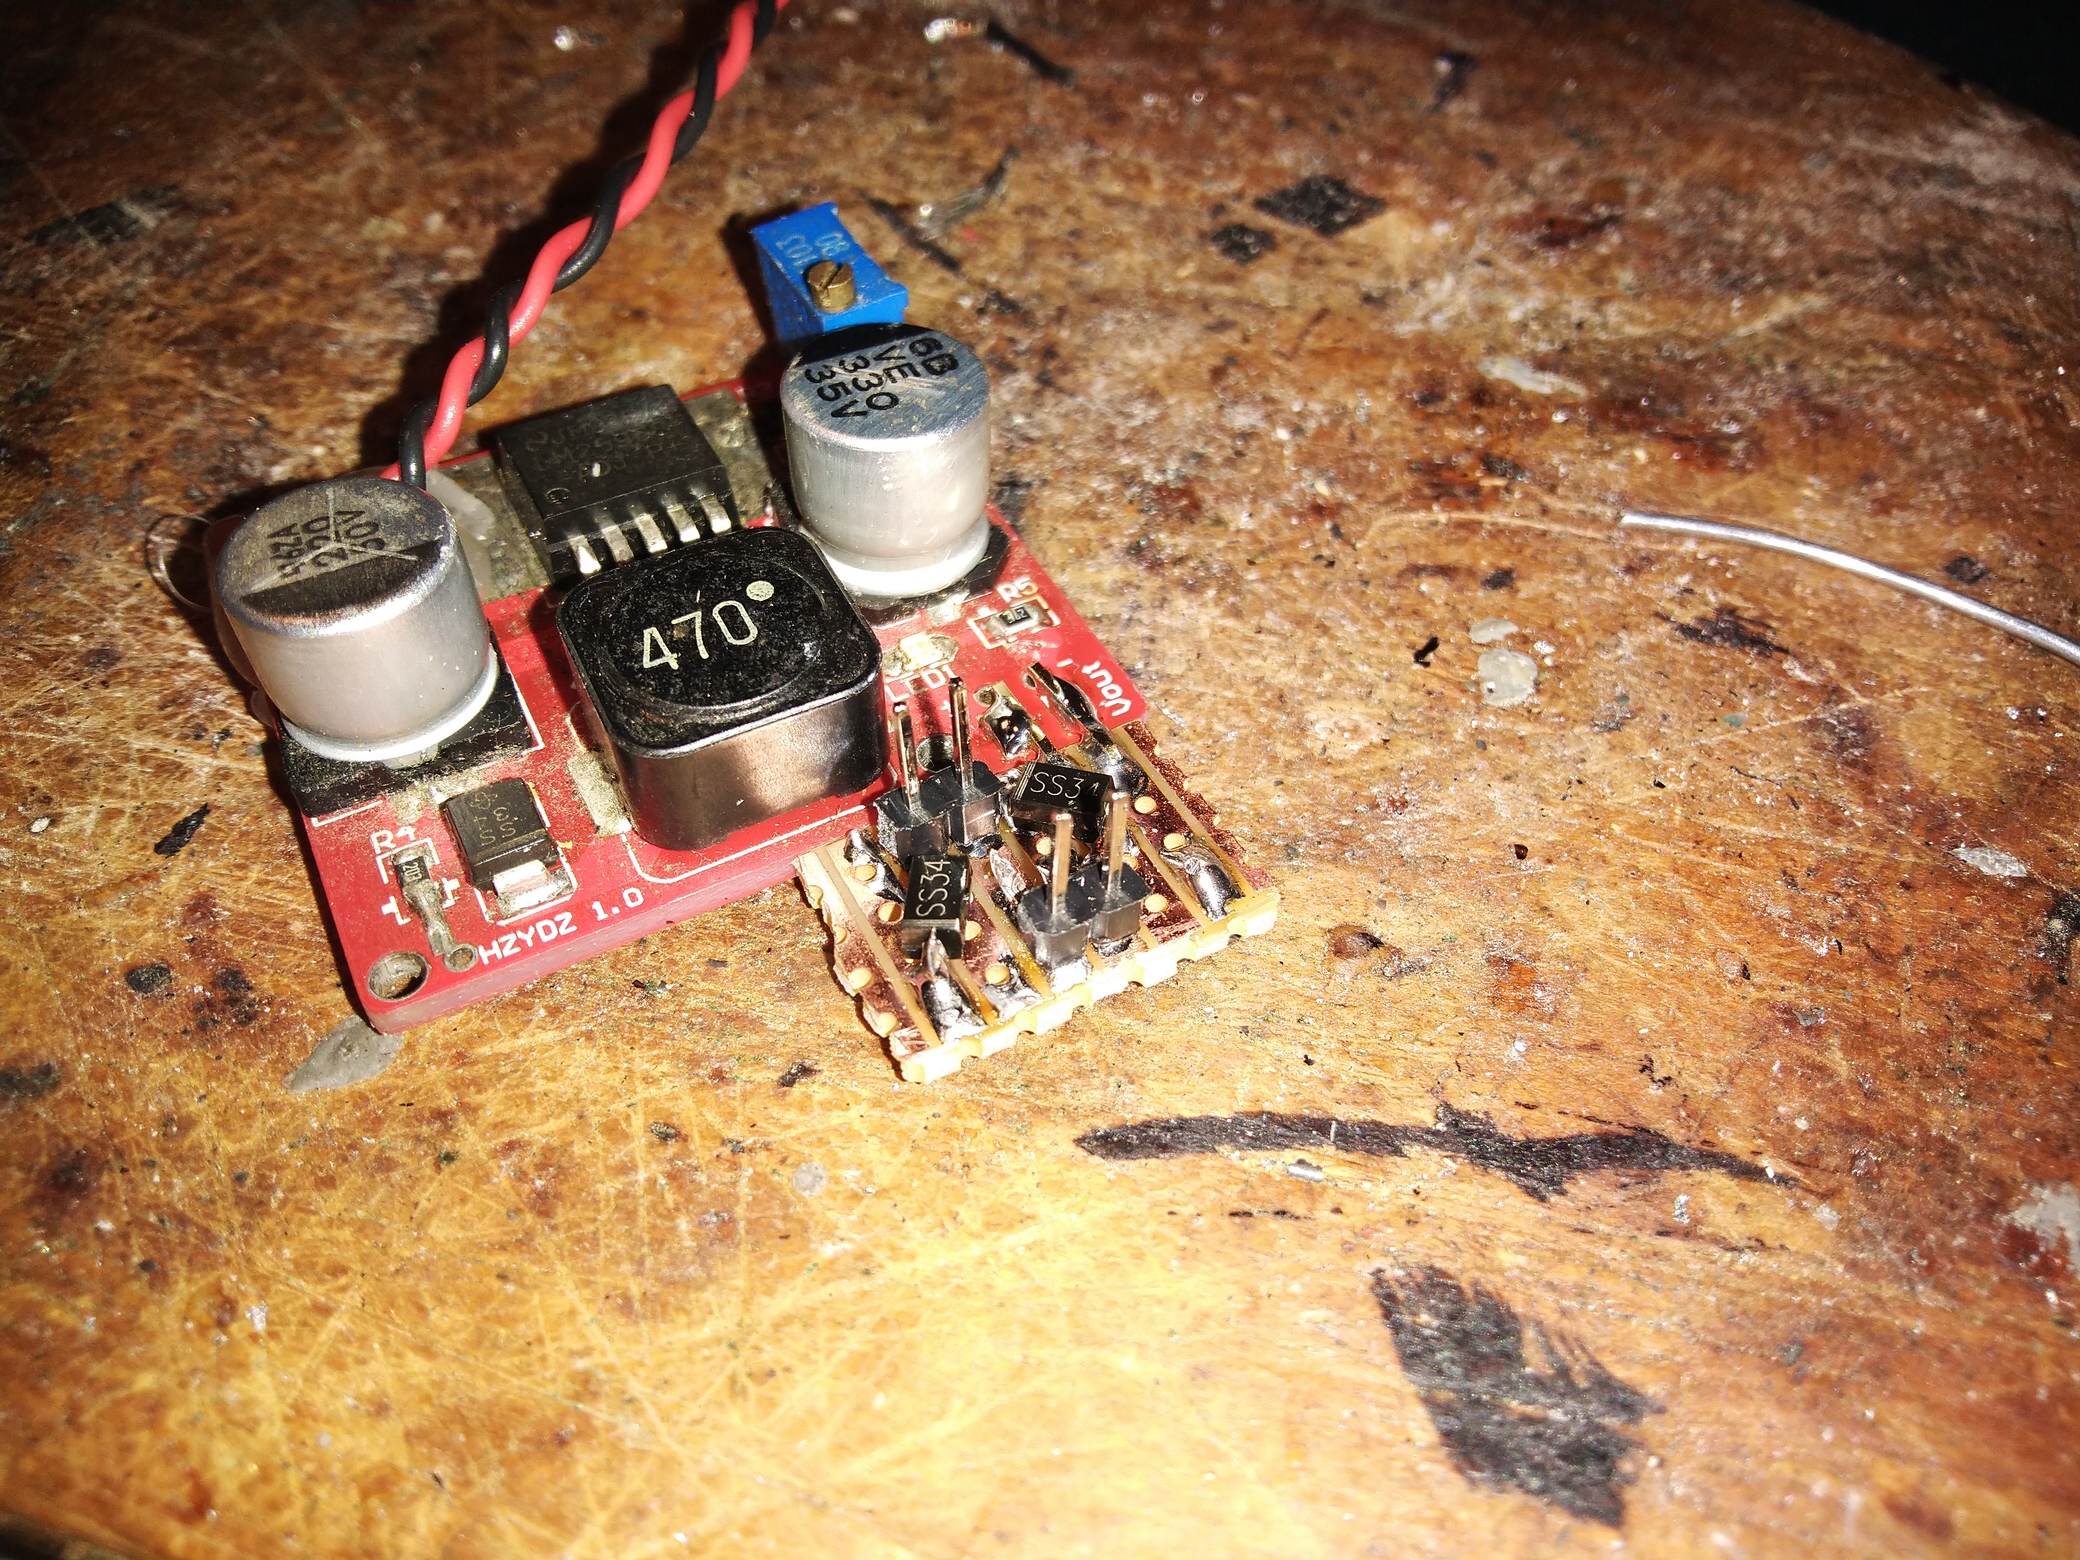
-Two SS34 or similar sckottky diodes
-Some stripboard and 2.54mm male headers
-A female/female dupont wire (didn't measure it, i'd say 15cm is ok)
-Obviously wiring and screws
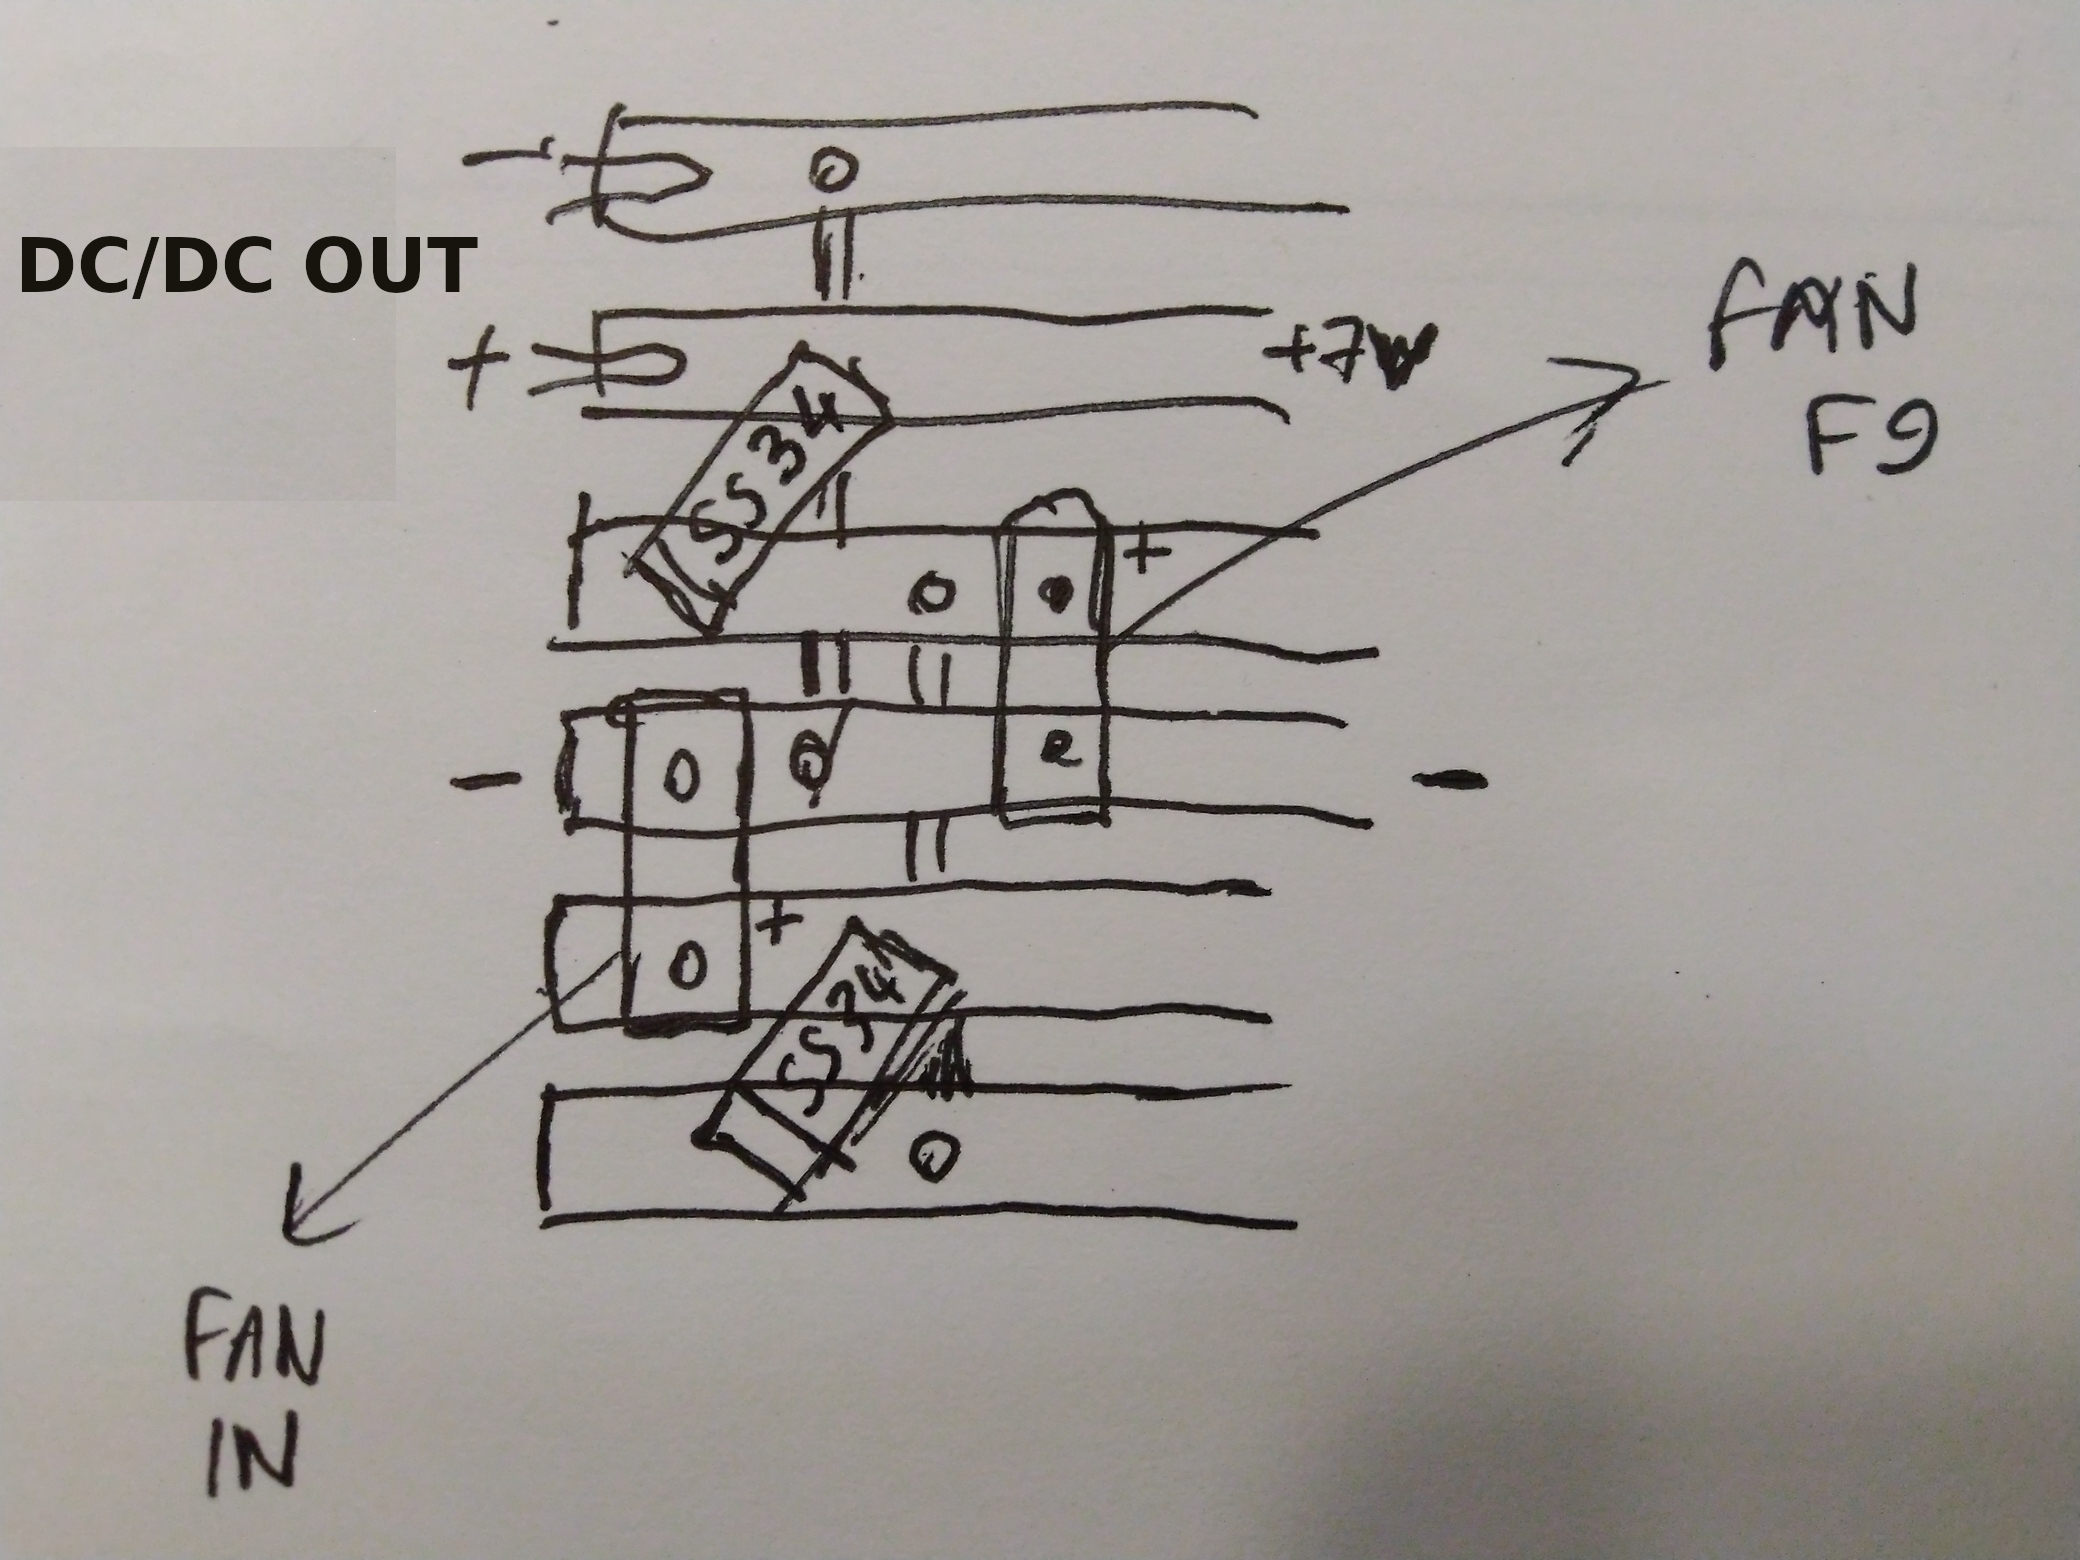
Draft of the "fan controller": (add-on flush and soldered to the DC/DC board):
Assembled:
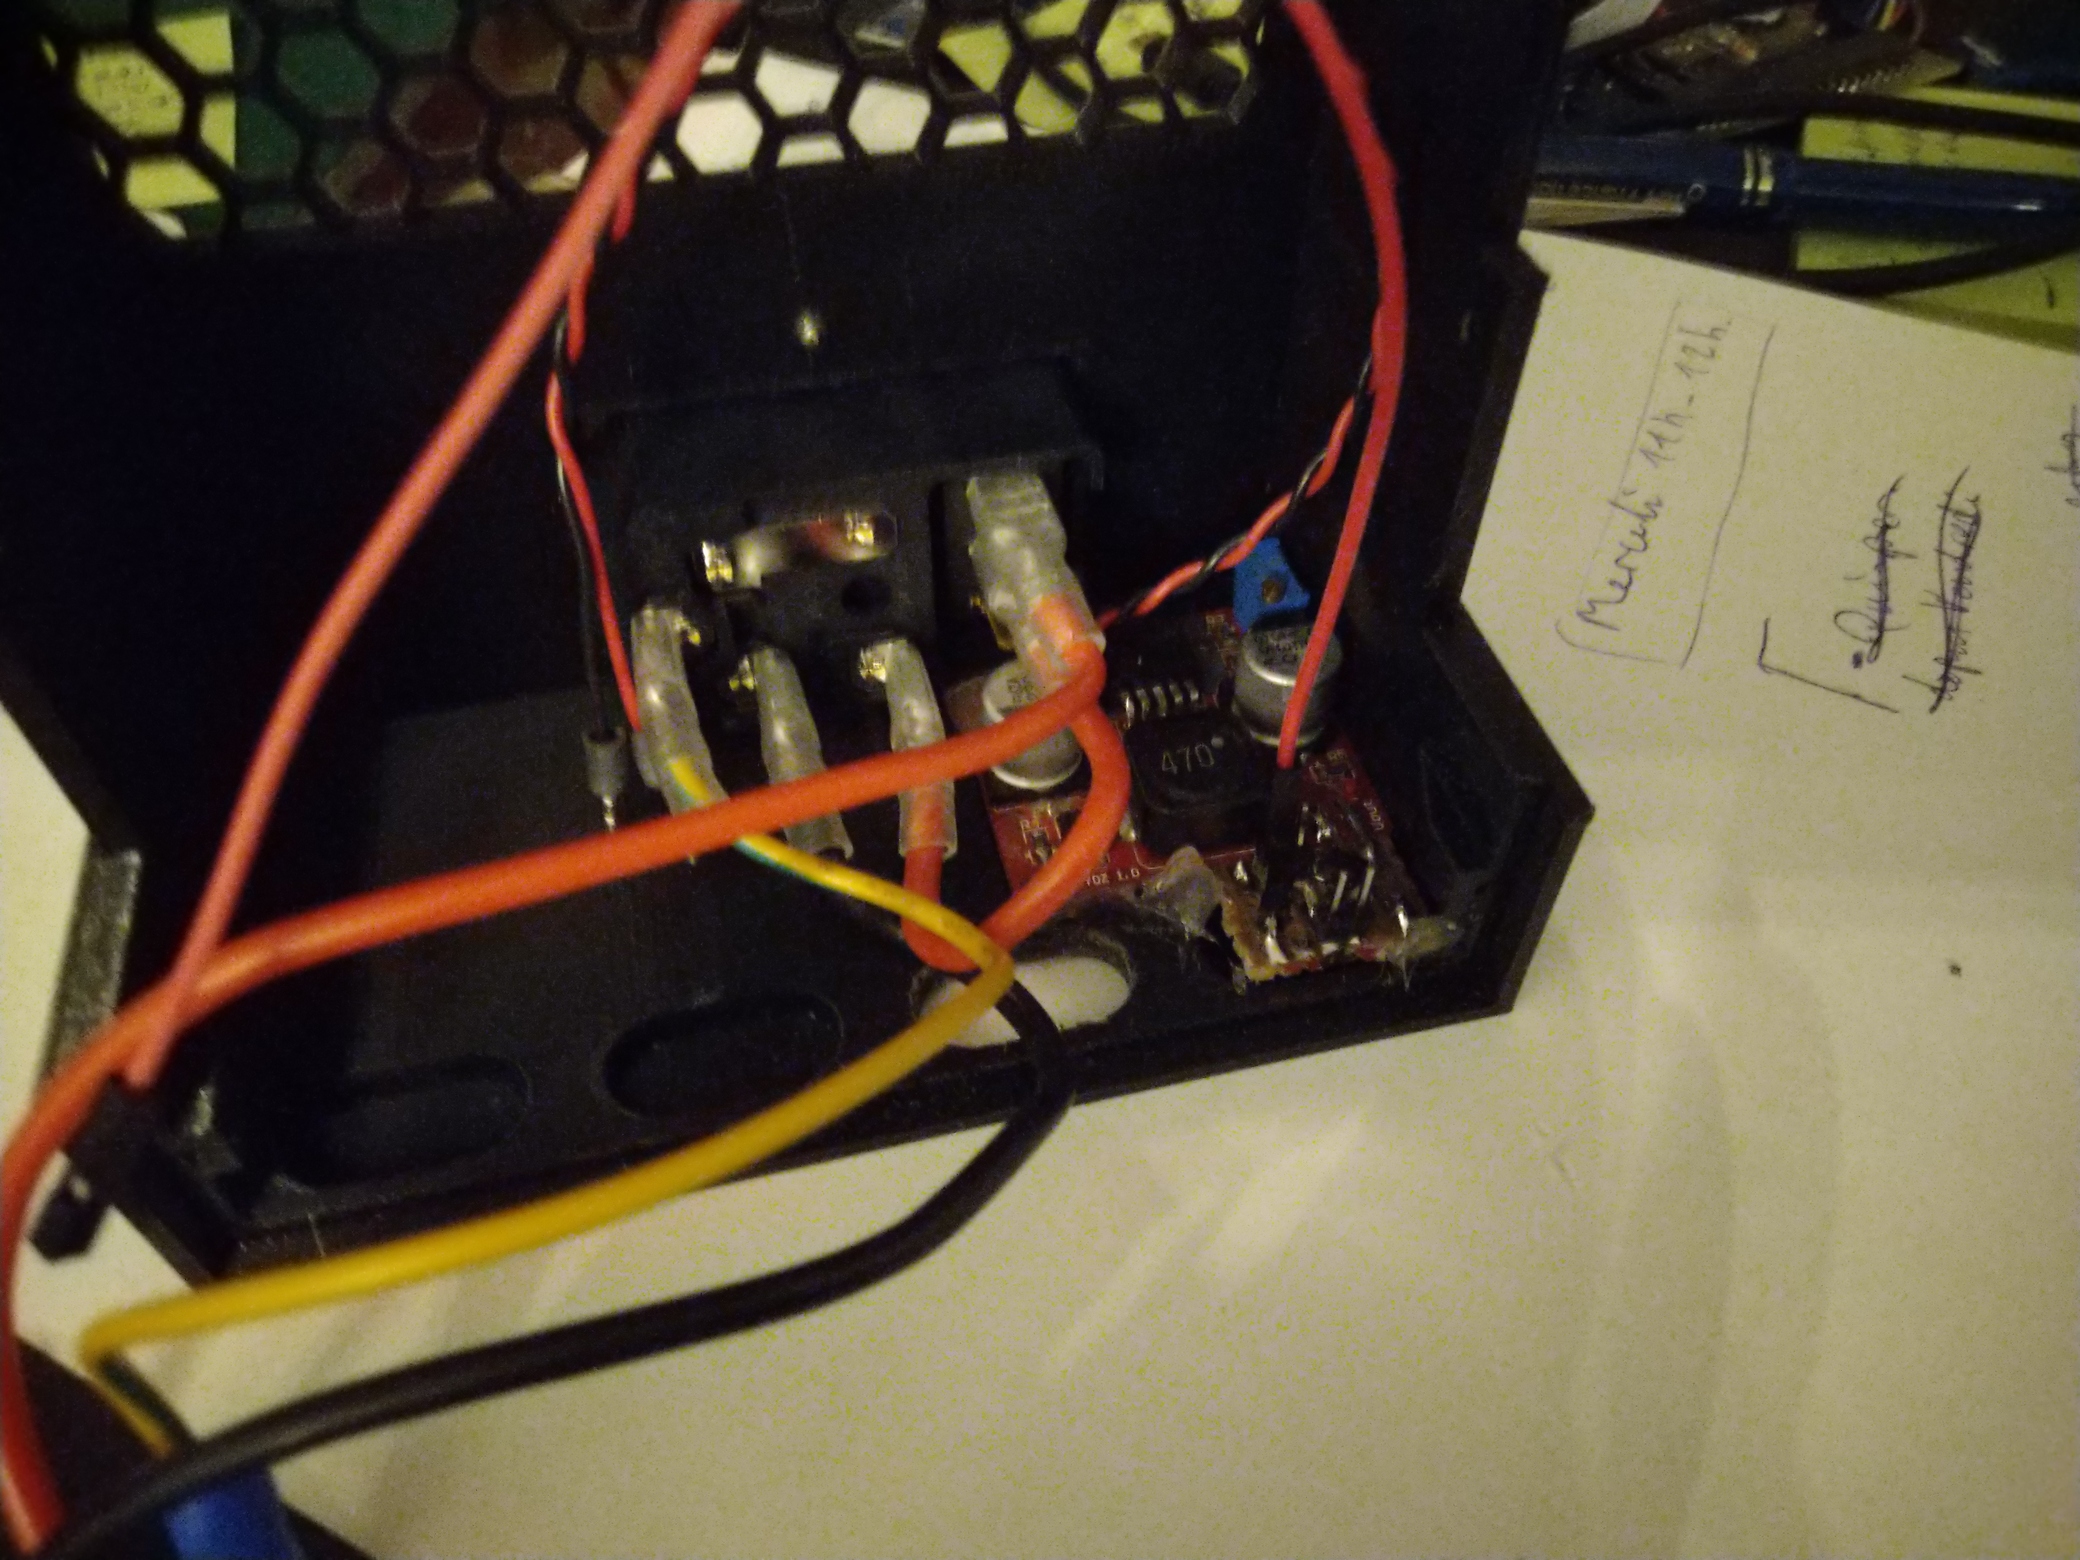
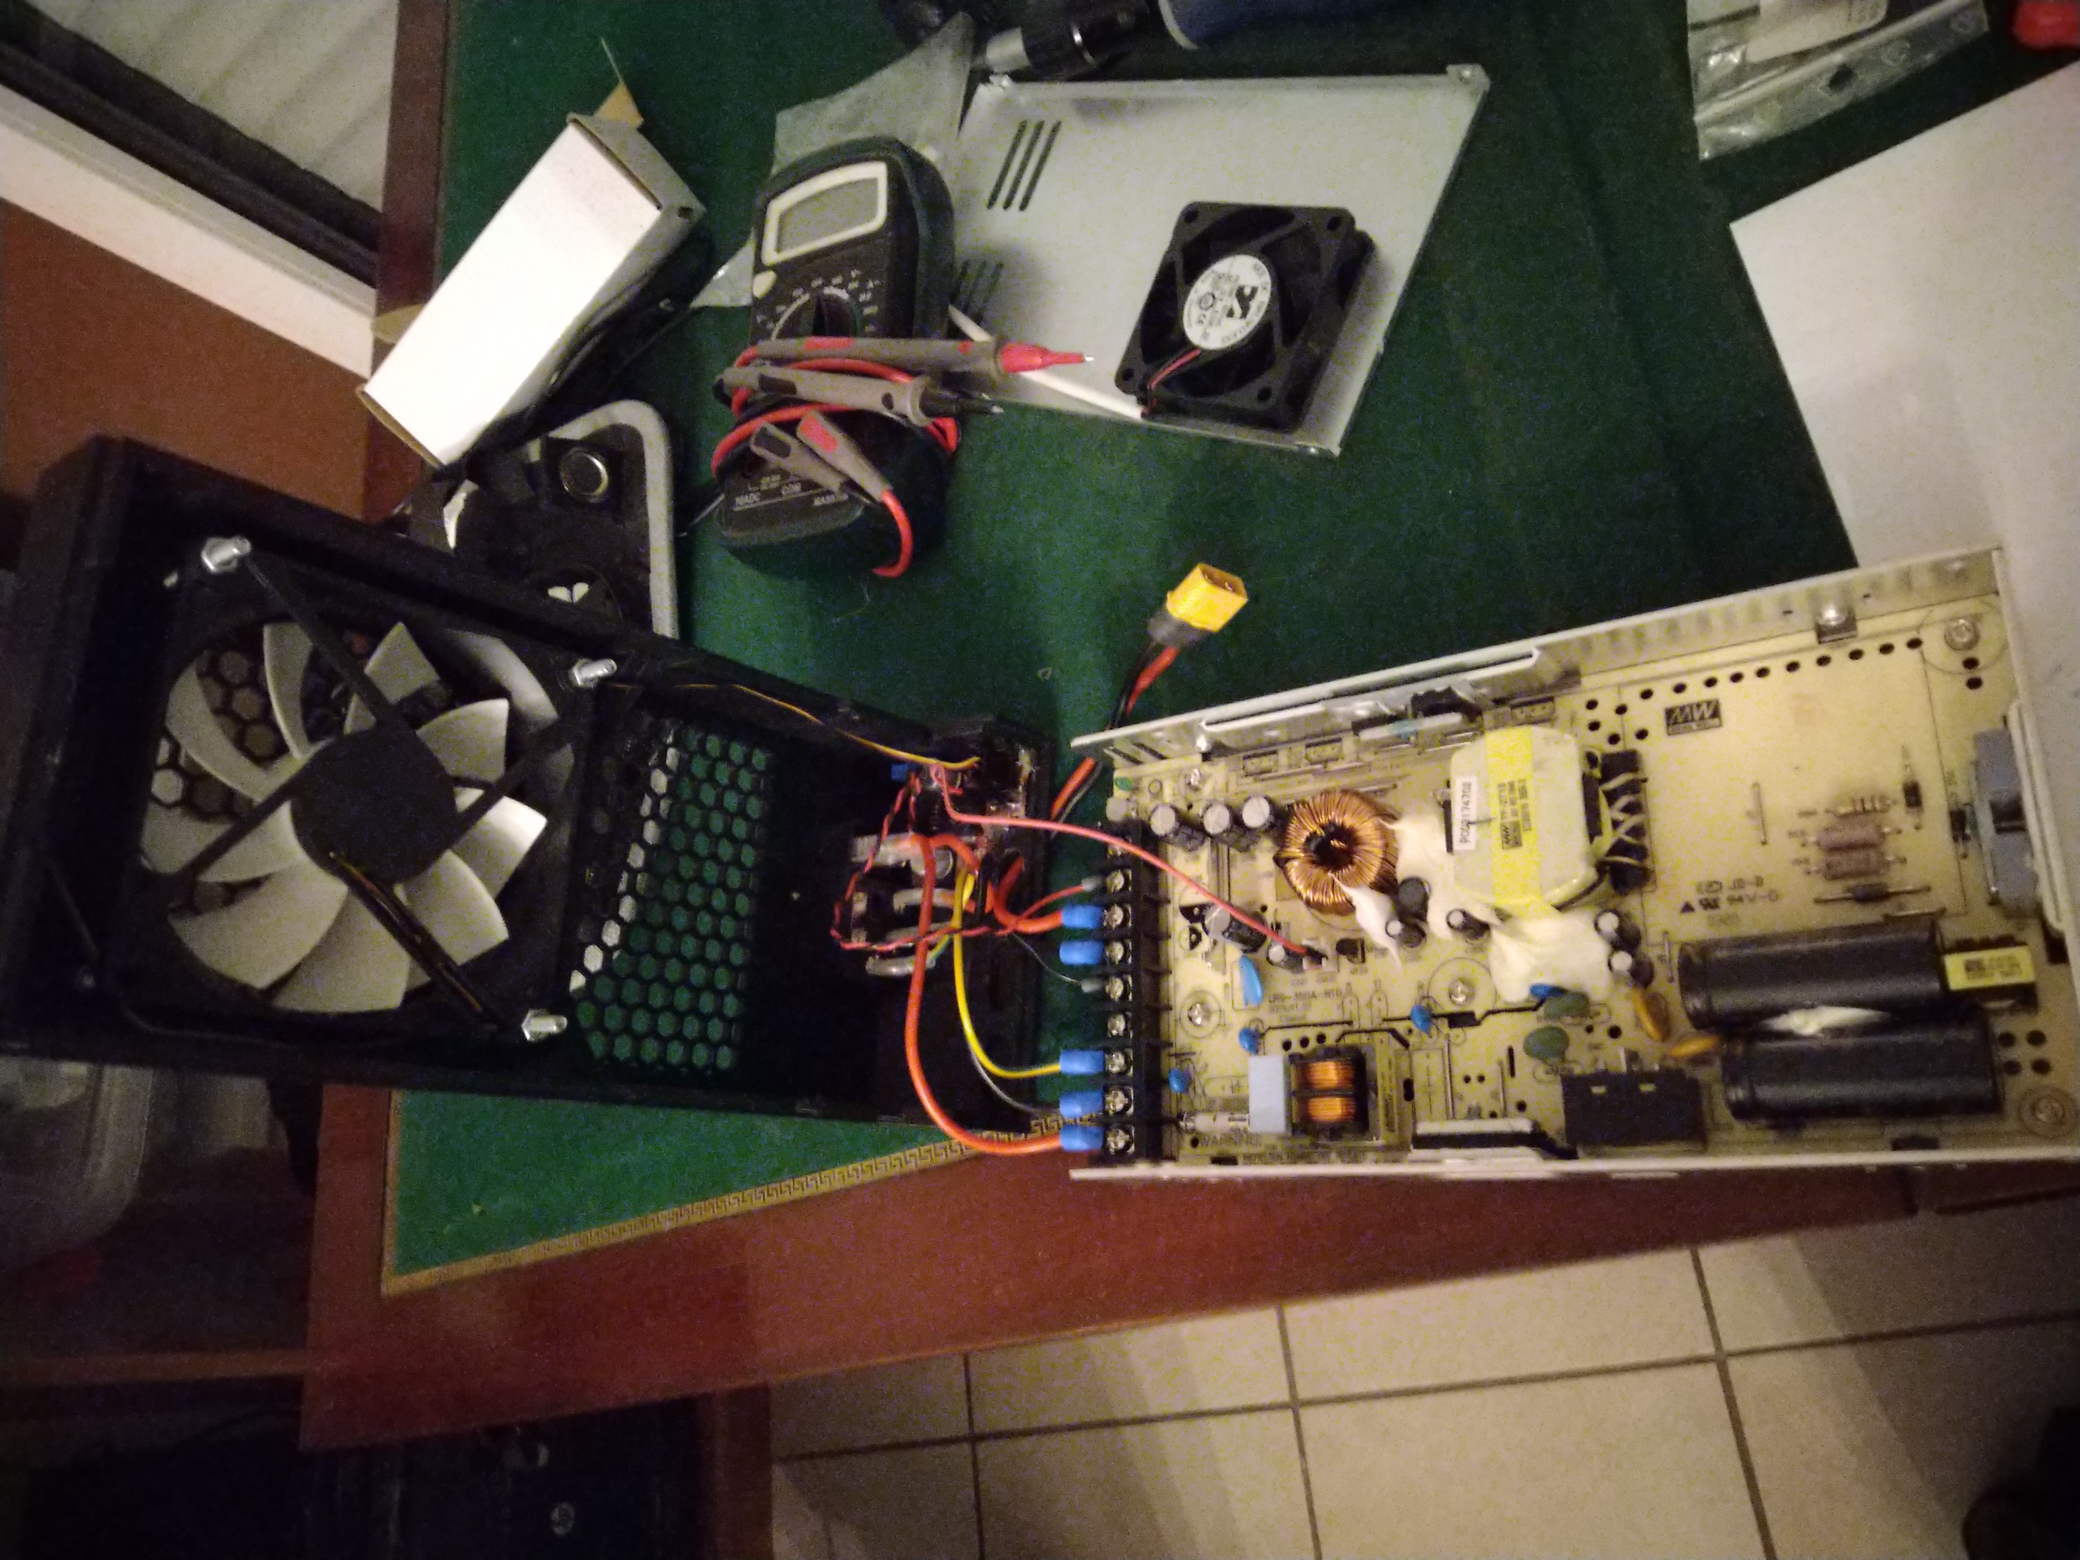
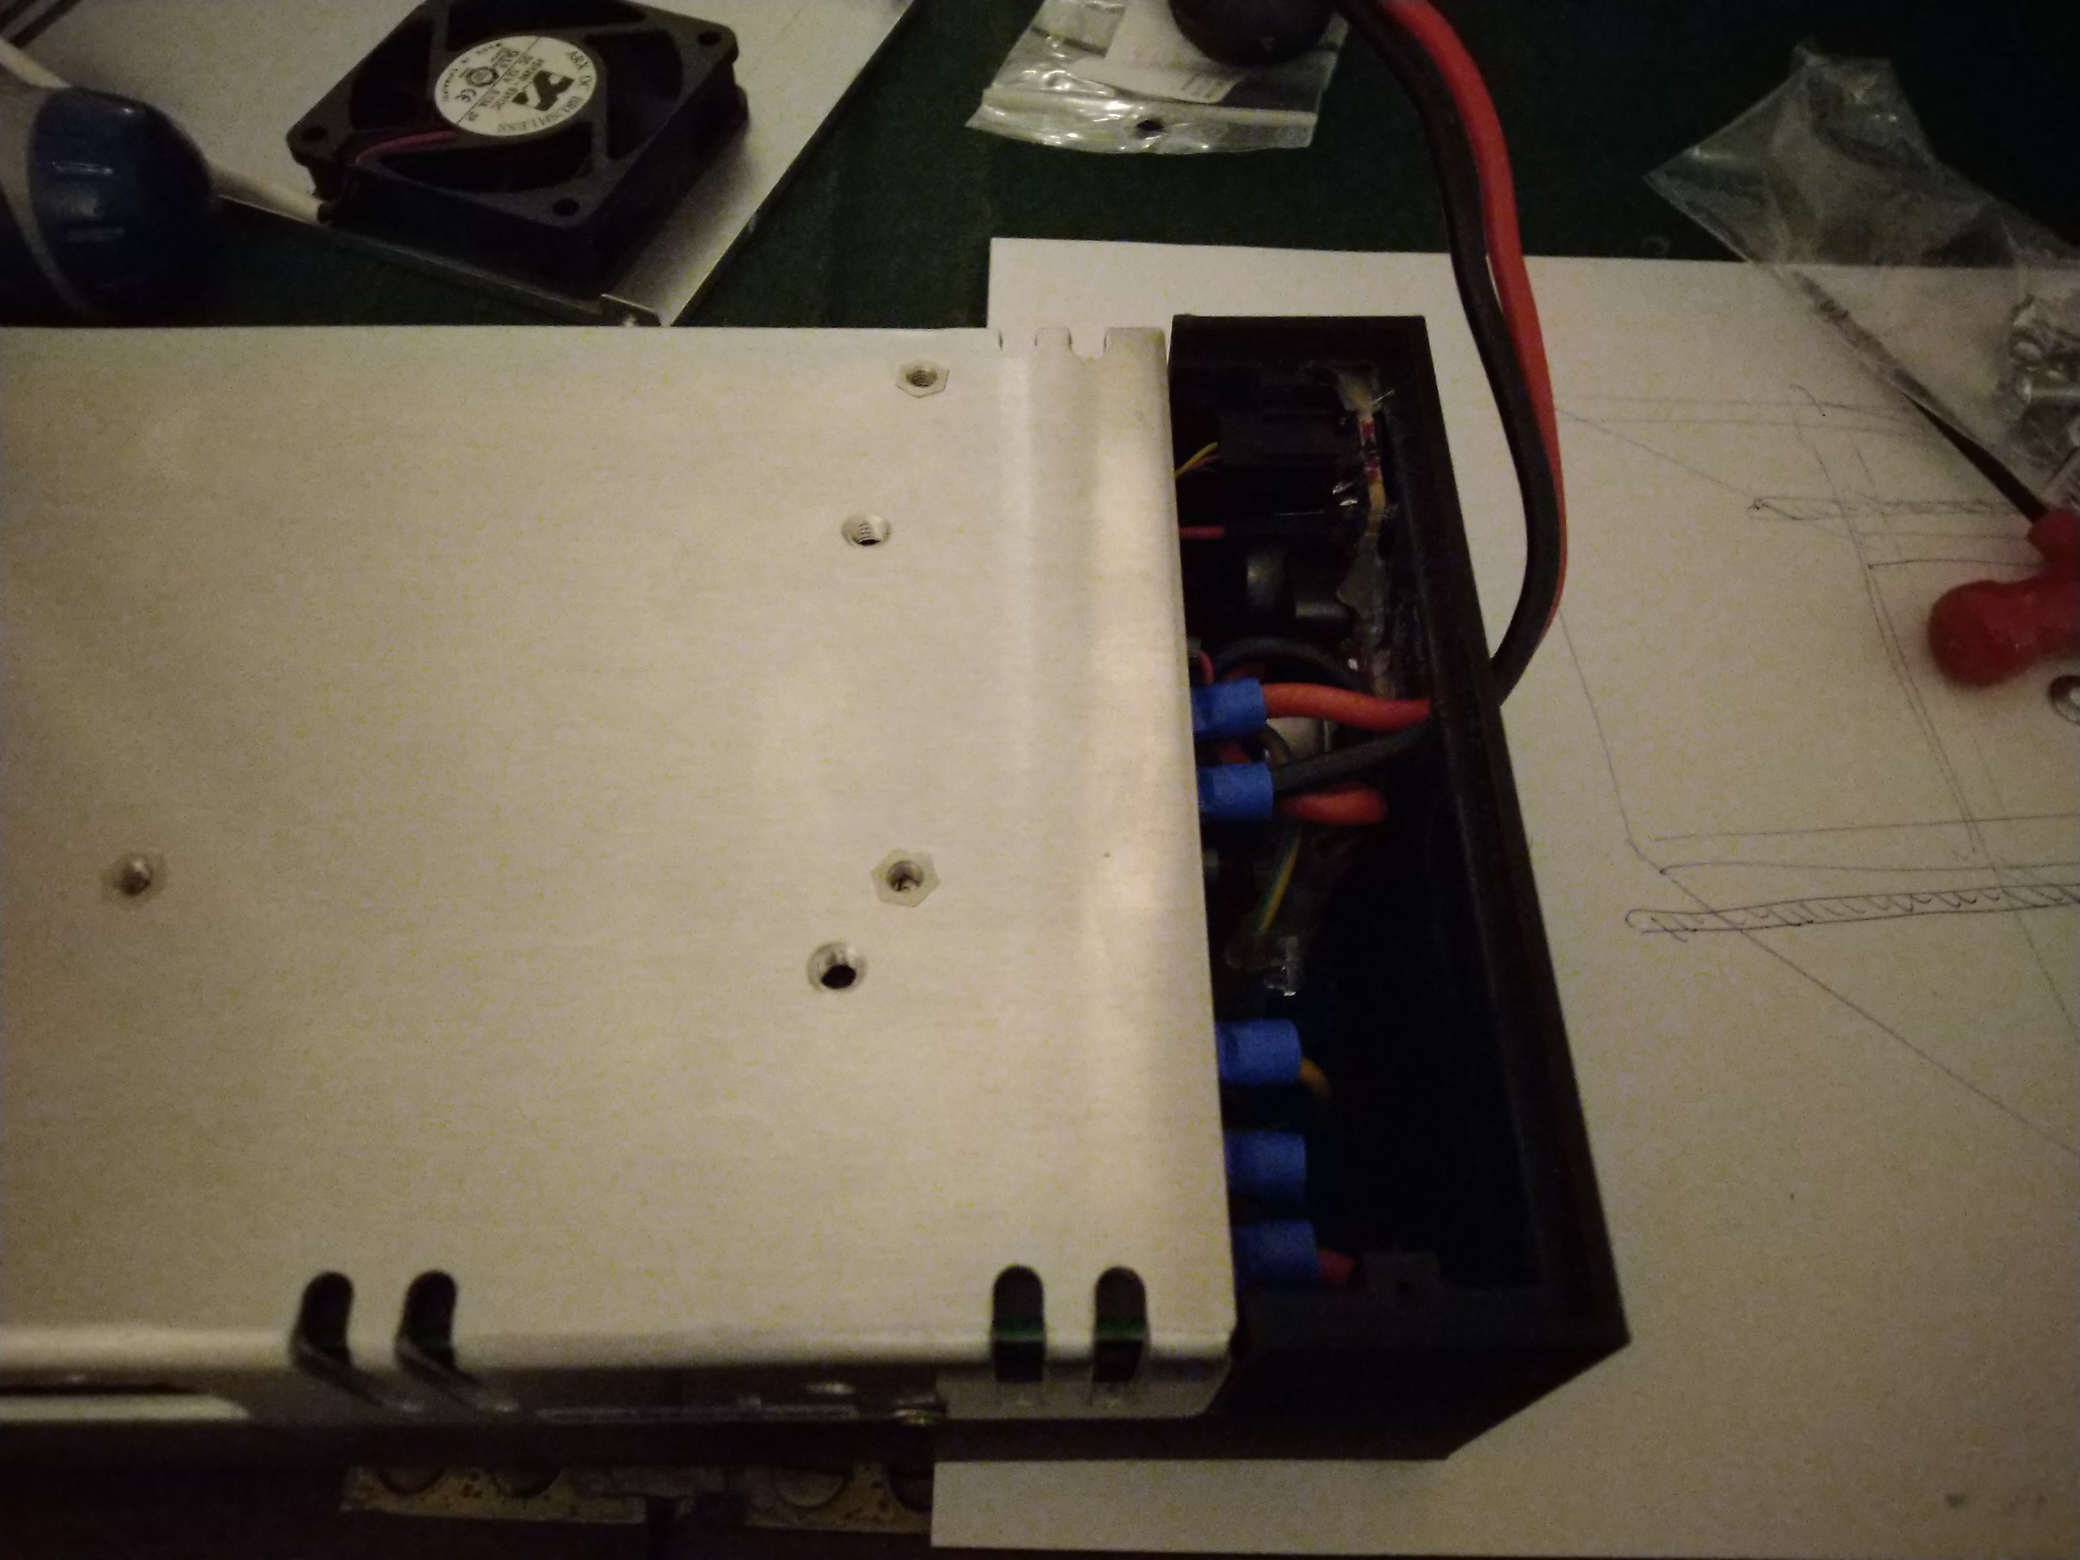
Putting the controller into the case:
(before, do the carving of one of the 4 pre-carved opening for the 24V power out for the printer, this one is the most appropriate to a stock or my nearly stock Ender 3 pro wiring)
Adding the fan: the upper-left (seen from inside) corner didn't had enough clearance (capacitors) to use my screws that are long enough to go through the two openings of the fan mounts, so used a shorter one and put the bolt between the two mounts with a plier, yes a bit tricky - if you know the exact dimensions of screws that fit the 4 holes i'd be glad to hear in the comments :) -)
The fan is wired only with ground and positive terminal, PWM left floating as we're driving it by voltage alone. And the female/female dupont wire on the controller FAN+ IN:
(It's in the correct orientation if you click to open the full image (at least on Firefox), looks like Dotclear's JPG library used for preview doesn't agree with both Gimp, my smartphone, Firefox and Windows regarding JPG orientation).
Detail of the fan mount:
Fully wired before closing:
The missing rear-cover part from the original model, that if you read carefully, had already included in your slicer to print instead of me going "What??? there's a missing part... ah, it was in this other model... well, time for reassembling, doing another print, disassemble and reassemble again^^":
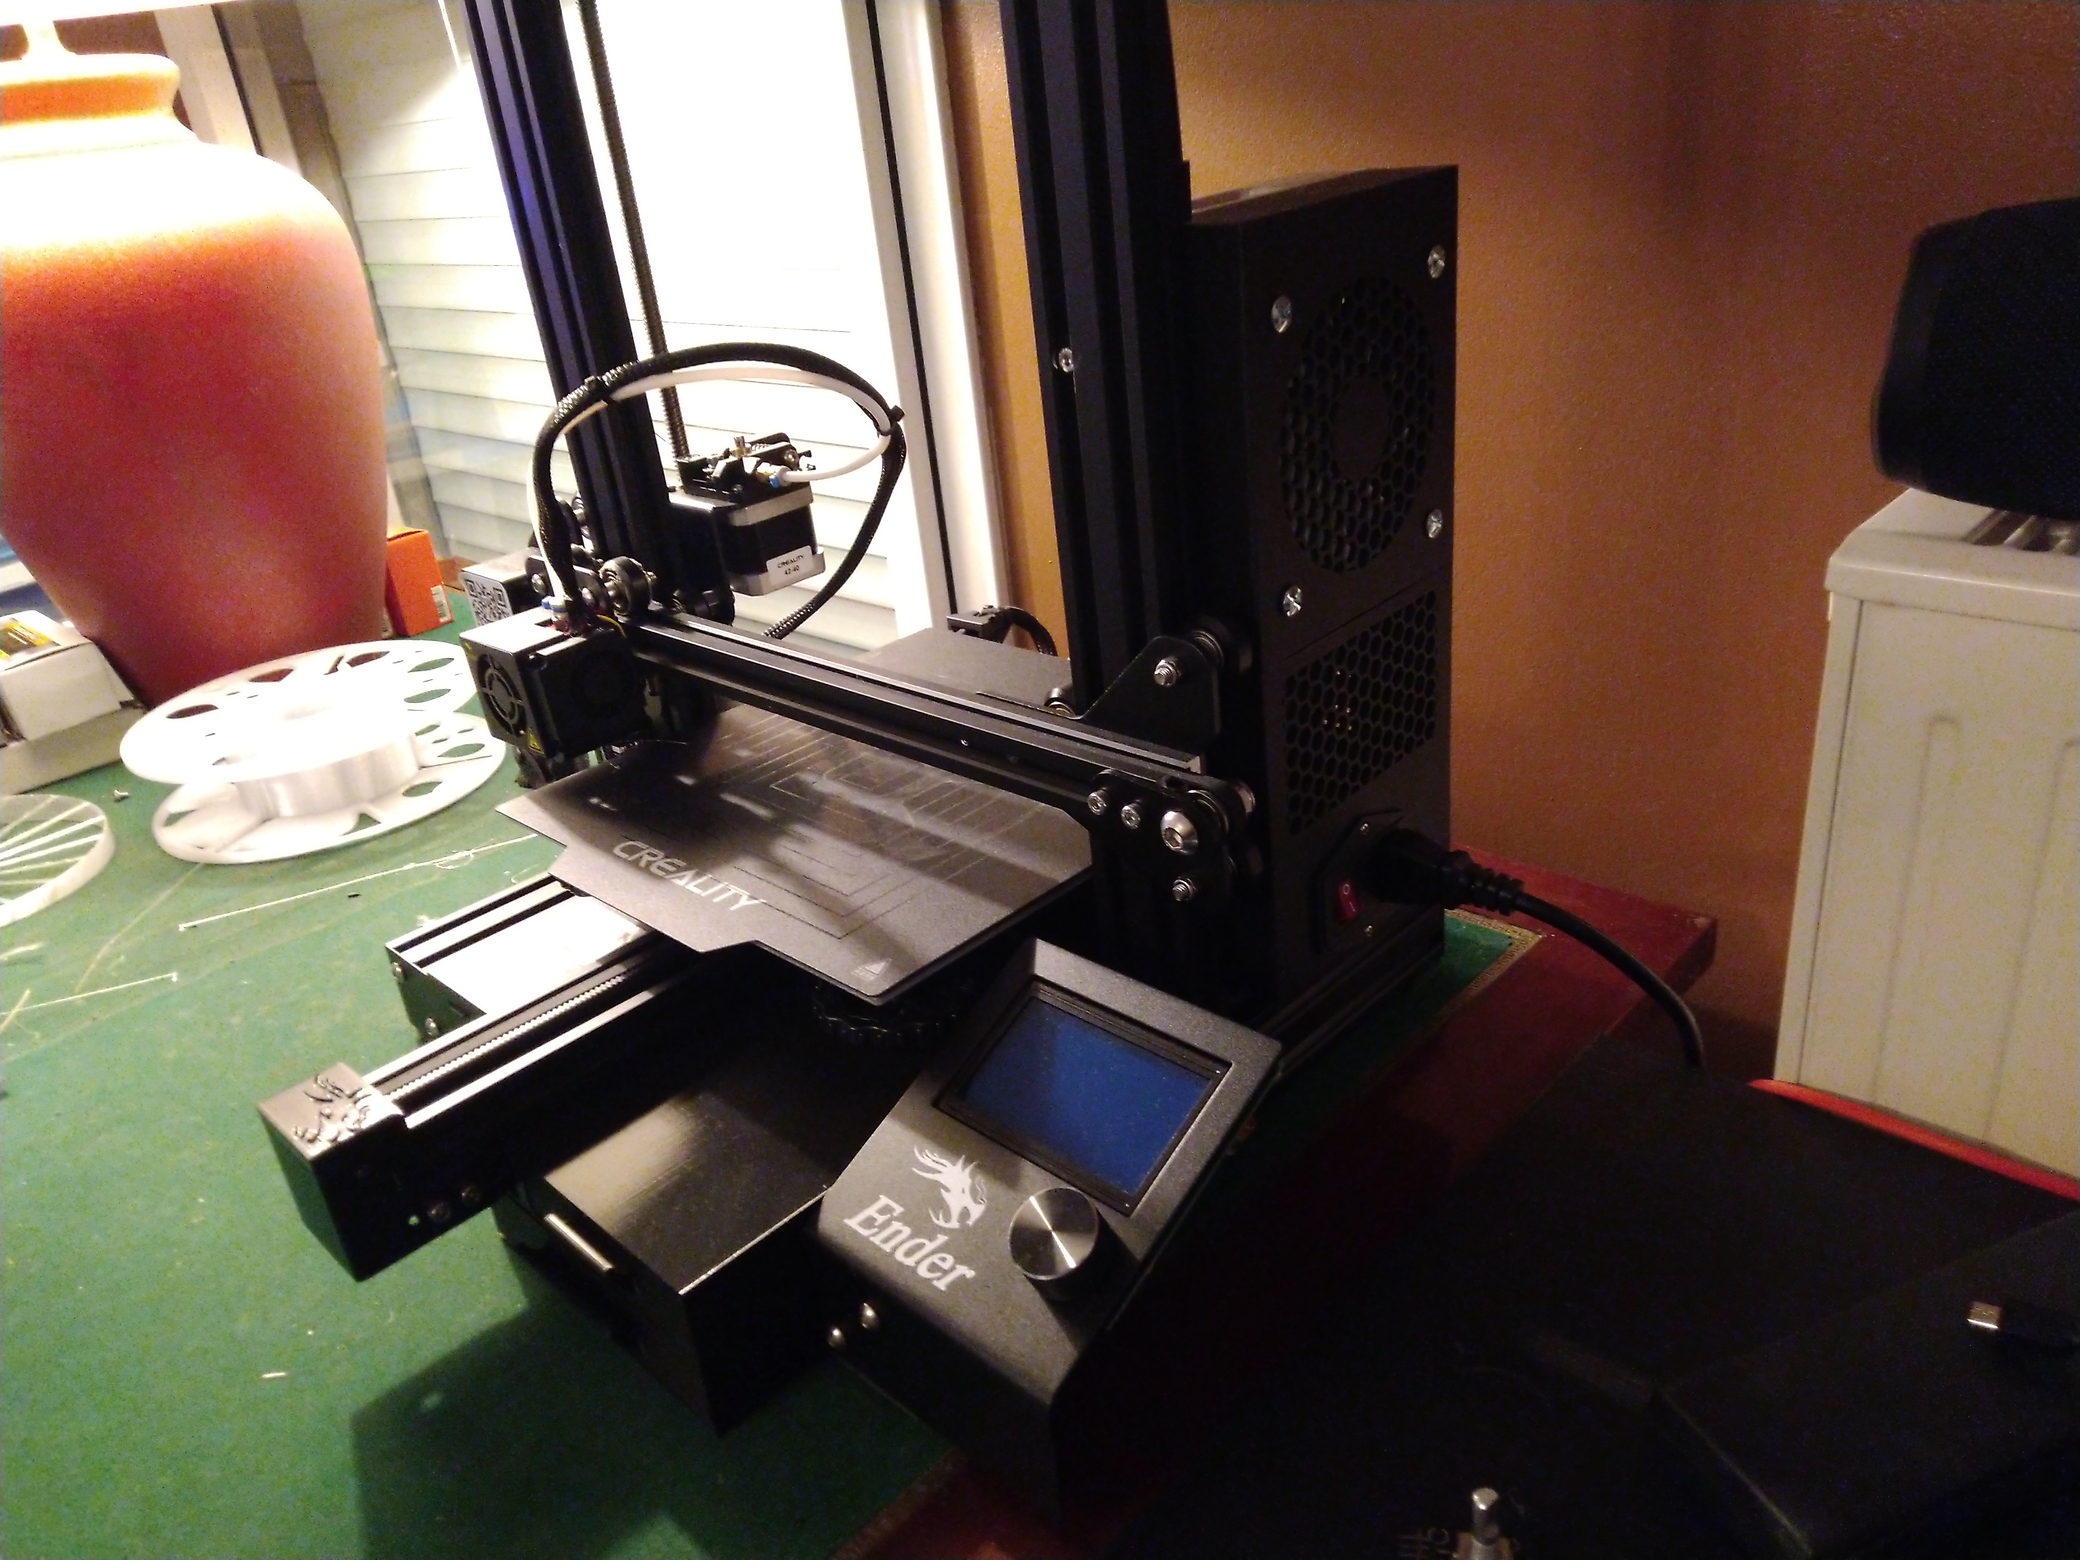
Final result: (Yes i've taken the photo before tightening the screws):